

Are you ready to dive into the exciting world of home network labs? Building your own lab is a fantastic way to learn about networking and experiment with different setups. You don’t need to be a tech genius to get started – just a curious mind and some basic equipment.
A home network lab lets you try out new ideas without messing up your main home network.
You can test different configurations, play with routers and switches, and even set up your own servers. It’s like having a sandbox where you can build cool tech castles without worrying about breaking anything important.
Getting started is easier than you might think. You’ll need some basic gear like a few old computers, some network cables, and maybe a spare router or two. Don’t worry if you don’t have everything right away – you can start small and build up your lab over time. The key is to jump in and start tinkering!
Key Takeaways
- A home lab provides hands-on experience with networking tech
- You can start small and grow your lab as you learn more
- Building a lab encourages exploration and boosts your tech skills
Choosing Your Home Network Lab Components
Building a home network lab starts with picking the right equipment. The components you choose will shape your learning experience and determine what kinds of projects you can tackle.
Picking the Right Microcontroller
Microcontrollers are the brains of many network devices. For beginners, the Arduino Uno is a great choice. It’s easy to use and has tons of online resources. If you want more power, try the Raspberry Pi 4. It can run a full operating system and act as a mini server.
Don’t forget about ESP32 boards. They’re perfect for IoT projects and have built-in Wi-Fi. For network-specific tasks, look into the NodeMCU. It’s designed for networking and is easy to program.
When choosing, think about what you want to build. Need lots of GPIO pins? Go for an Arduino. Want to run network services? Raspberry Pi is your best bet.
Essential Electronic Components
Your lab needs more than just microcontrollers. Start with a good breadboard and jumper wires. They’ll let you prototype quickly without soldering.
Get a variety of resistors and capacitors. They’re the building blocks of most circuits. LEDs are great for visual feedback. Grab a pack with different colors.
For networking projects, you’ll need Ethernet jacks and maybe some Cat6 cable. If you’re into wireless, pick up some antennas and RF modules.
Don’t forget about sensors. Temperature, humidity, and motion sensors can add real-world data to your projects. A small LCD screen can be handy for displaying info without a computer.
Considering Test Equipment
Good test equipment is crucial for troubleshooting. A multimeter is a must-have. It’ll help you measure voltage, current, and resistance. Look for one with continuity testing.
For network labs, a network cable tester is essential. It’ll save you hours of headaches when dealing with connection issues.
If you can afford it, get a basic oscilloscope. It’s great for visualizing signals and debugging communication protocols. For network analysis, a packet sniffer like Wireshark is invaluable. It’s free software, but you might need a special network adapter to capture all traffic.
Consider a logic analyzer too. They’re cheaper than oscilloscopes and perfect for digital signals. You’ll use it a lot when working with microcontrollers and networking protocols.
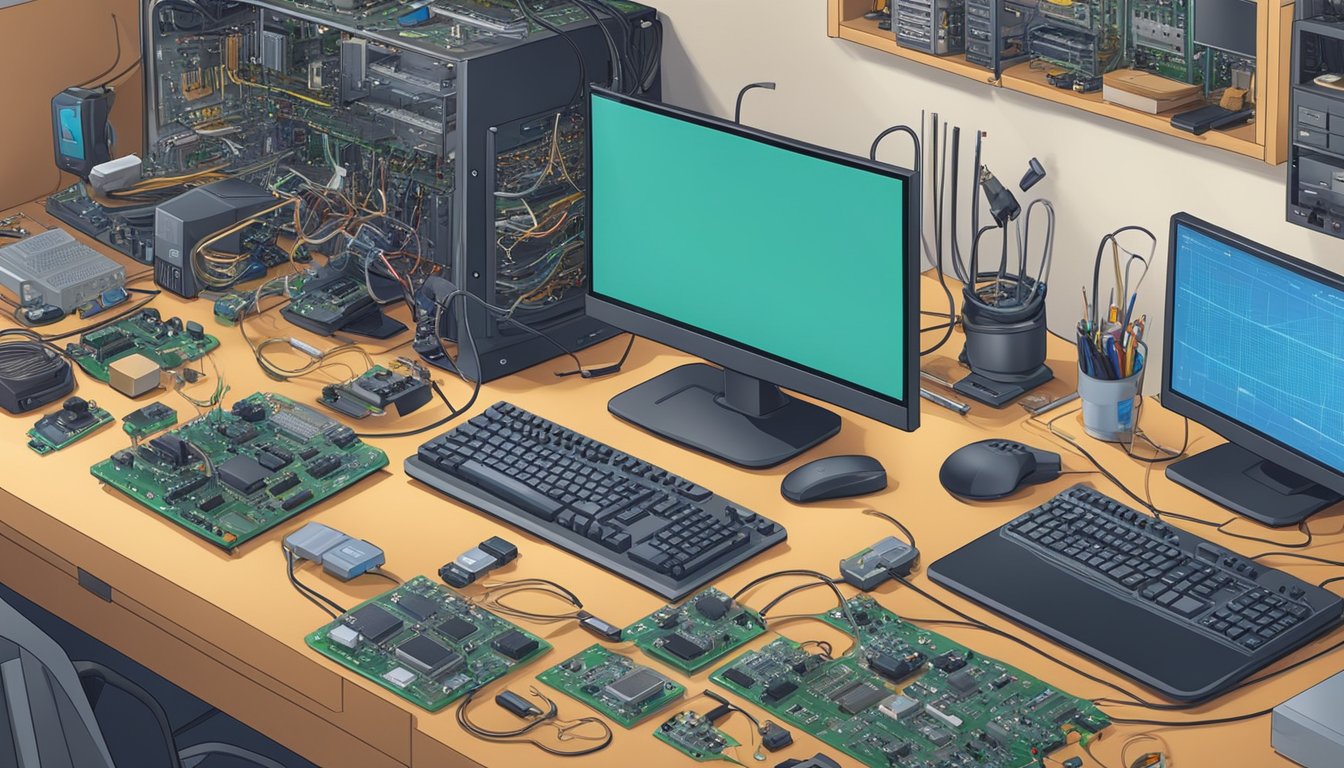
Setting Up Your Workspace
Creating a dedicated space for your home network lab is key. A well-organized workspace will help you stay focused and productive. Let’s look at the essentials you’ll need.
Workspace Essentials for Soldering
A good soldering setup is crucial for your network lab. You’ll need a soldering iron with adjustable temperature settings. Pick one with a fine tip for precise work on small components.
Get a sturdy soldering stand to hold your iron safely. A helping hand tool with magnifying glass is great for holding parts steady. Don’t forget solder and flux – get lead-free solder for safety.
A fume extractor is a must to remove harmful soldering fumes. It’ll keep your workspace clean and your lungs happy. Lastly, grab some desoldering braid and a pump for fixing mistakes.
Organizing Your Electronics
Keep your components tidy with small storage bins or drawers. Label everything clearly – you’ll thank yourself later. Use anti-static bags for sensitive parts like RAM or CPUs.
A pegboard on the wall is great for hanging tools and cables. Get some cable ties to keep wires neat. A label maker is super handy for marking cables and ports.
Consider a 3D printer for making custom enclosures or brackets. It’s not essential, but it’s a fun addition that can really up your lab game.
Safety Precautions
Safety first! Get a fire extinguisher rated for electrical fires. Keep it close by, just in case. Wear safety glasses when soldering or working with small parts.
Use an anti-static mat and wrist strap when handling sensitive electronics. This prevents static damage to your precious components.
Make sure your workspace has good lighting. An adjustable desk lamp works wonders. Proper ventilation is key, especially if you’re soldering often.
Lastly, invest in a good first aid kit. Cuts and burns can happen, so be prepared. Keep it stocked with bandages, antiseptic, and burn cream.
Building Circuit Blocks
Building circuit blocks is a key part of creating your home network lab. These basic components form the foundation for more complex systems. Let’s explore some essential circuit blocks you can build.
Designing an Oscillator Circuit
Oscillator circuits are the heartbeat of many electronic systems. You’ll find them in network devices and communication equipment. To build a basic oscillator:
- Choose a transistor (like the 2N2222)
- Add resistors for biasing
- Include a capacitor for frequency control
- Use an inductor to form the LC tank circuit
Experiment with different component values to change the oscillation frequency. Try building a Colpitts oscillator first – it’s simple and reliable.
For radio frequency (RF) applications, consider crystal oscillators. They offer better stability and are perfect for clock generation in digital circuits.
Creating Amplifier Circuits
Amplifier circuits boost weak signals, crucial for long-distance network connections. Start with a simple single-stage amplifier:
- Use a common emitter configuration
- Pick an NPN transistor (2N3904 is a good choice)
- Add biasing resistors
- Include coupling capacitors for input and output
To improve gain, try cascading multiple stages. For better stability, add negative feedback.
Don’t forget about operational amplifiers (op-amps). They’re versatile and easy to use. Build an inverting amplifier with just two resistors and an op-amp chip.
Noise Reduction Techniques
Noise can wreak havoc on your network signals. Here are some ways to fight it:
- Use shielding: Wrap sensitive circuits in metal enclosures.
- Implement filtering: Add low-pass filters to remove high-frequency noise.
- Improve grounding: Create a solid ground plane on your circuit board.
Try building a simple RC low-pass filter. It’s just a resistor and capacitor in series. Place it at the input of your amplifier circuits to clean up incoming signals.
For digital circuits, add bypass capacitors near power pins. They help suppress noise on the power supply lines.
Remember, good PCB layout is key. Keep sensitive analog traces away from noisy digital lines. This simple step can dramatically improve your circuit’s performance.
Programming and Testing

Programming and testing are key parts of building a home network lab. You’ll get hands-on experience writing code, prototyping, and fixing issues. These skills are crucial for any tech enthusiast.
Writing Code for Microprocessors
Microprocessors are the brains of many network devices. To program them, you’ll need to learn a low-level language like C or Assembly. Start with simple projects like blinking LEDs or reading sensor data.
Pick a development environment that suits your microprocessor. Many come with their own integrated development environment (IDE). These often include code editors, compilers, and debuggers.
Remember to keep your code clean and well-commented. This will make debugging easier later on. Break your program into small, manageable functions. This approach helps you test each part separately.
Using Arduino for Prototyping
Arduino boards are great for quick prototyping in your home lab. They’re easy to use and have a large community for support. The Arduino IDE uses a simplified version of C++, making it beginner-friendly.
Start with basic projects like:
- Controlling LEDs
- Reading button inputs
- Displaying data on an LCD screen
As you get more comfortable, try more complex projects:
- Building a simple web server
- Creating a network-controlled device
- Monitoring network traffic with sensors
Arduino’s flexibility lets you quickly test ideas before implementing them on your main network devices.
Debugging and Troubleshooting
Debugging is a crucial skill in any tech project. When issues arise, stay calm and approach them systematically. Start by isolating the problem. Is it in your code, hardware, or network configuration?
Use these tools to help you debug:
- Serial monitor: Print debug messages from your code
- Logic analyzer: Check signal timing issues
- Network packet sniffer: Examine network traffic
Don’t be afraid to use print statements in your code. They’re often the quickest way to track down issues. For network problems, tools like Wireshark can be invaluable.
Keep a log of common issues and their solutions. This will save you time in the future. Remember, debugging is a skill that improves with practice. Each problem you solve makes you a better troubleshooter.
Advancing Your Electronics Hobby

As you dive deeper into your home network lab, you can expand your skills by exploring electronics. This opens up new possibilities for custom hardware and integrating specialized components into your setup.
Integrating Modules and ICs
Ready-made modules and integrated circuits (ICs) can supercharge your projects. Wi-Fi modules like the ESP8266 let you add wireless capabilities to your devices easily. Try incorporating sensors to monitor temperature, humidity, or motion in your lab.
Microcontrollers are the brains of many projects. The Arduino family is great for beginners, while Raspberry Pi offers more computing power. You can use these to build custom network monitoring tools or even small servers.
Don’t forget about specialized ICs. Network interface controllers (NICs) can be used to add Ethernet ports to your builds. USB hub chips let you expand connectivity options.
Custom Circuit Board Design
Creating your own printed circuit boards (PCBs) takes your hobby to the next level. Start with simple designs using free software like KiCad or EasyEDA. These tools let you draw schematics and layout boards.
For your first PCB, try making a custom power distribution board for your lab. This can help manage multiple voltage levels and provide protection circuits.
As you gain confidence, design more complex boards. A custom Ethernet switch or a specialized network testing tool can be both fun and useful. Remember to double-check your designs before sending them off for manufacturing.
When your boards arrive, you’ll need to brush up on your soldering skills. Practice with through-hole components before moving to surface-mount devices. With patience, you’ll soon be building advanced custom hardware for your lab.