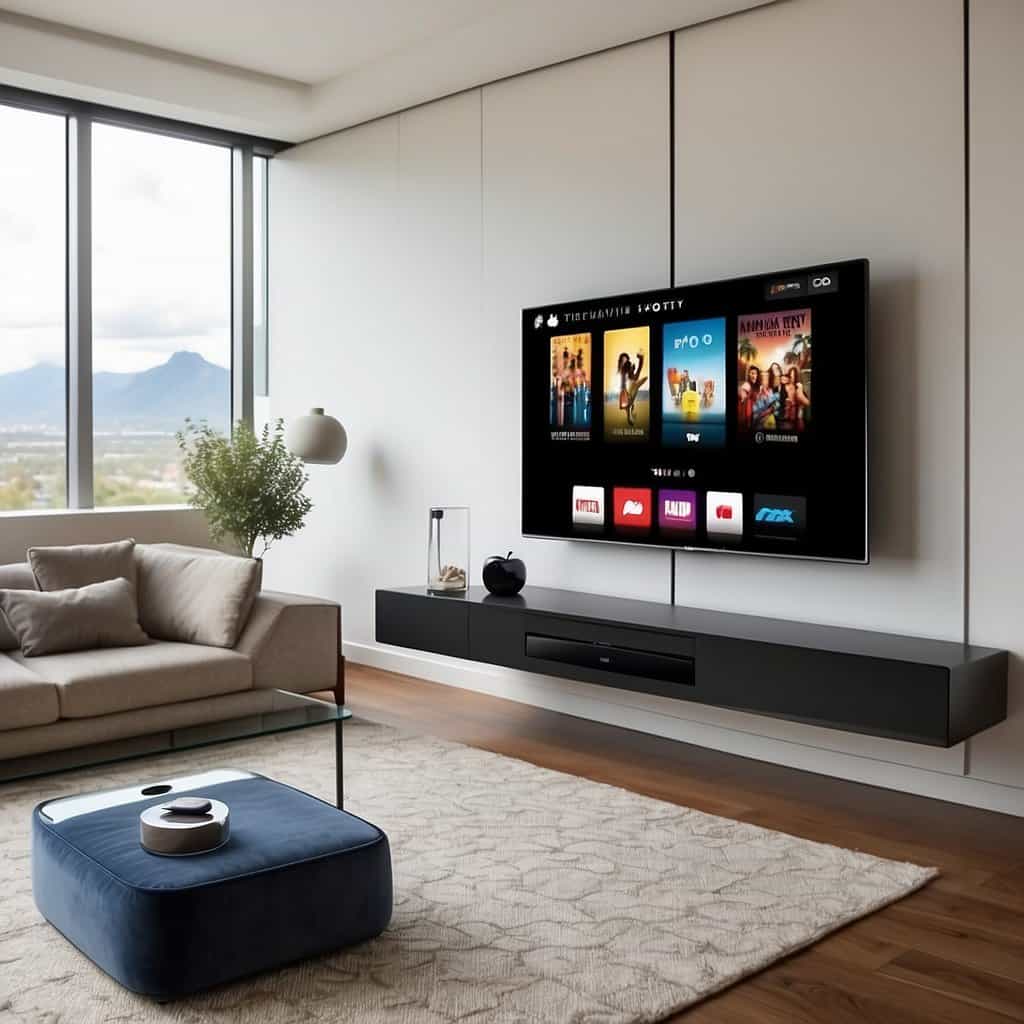
So you’re sitting there with your sleek Apple TV and a trusty computer, thinking about how you can introduce the two to each other using that little USB port on the Apple TV.
It’s like setting up a playdate for your electronic devices! Connecting your Apple TV to your computer via USB can feel like you’re trying to make two different generations of tech get along at a family reunion.
Grab yourself a Micro USB cable (yes, the same one you’ve probably got tangled up in a drawer somewhere).
Now, you might be used to using this port on your Apple TV for just updates or charging, but rumor has it, they can do more – like connecting to your computer for a little bit of techy TLC and that all-important syncing.
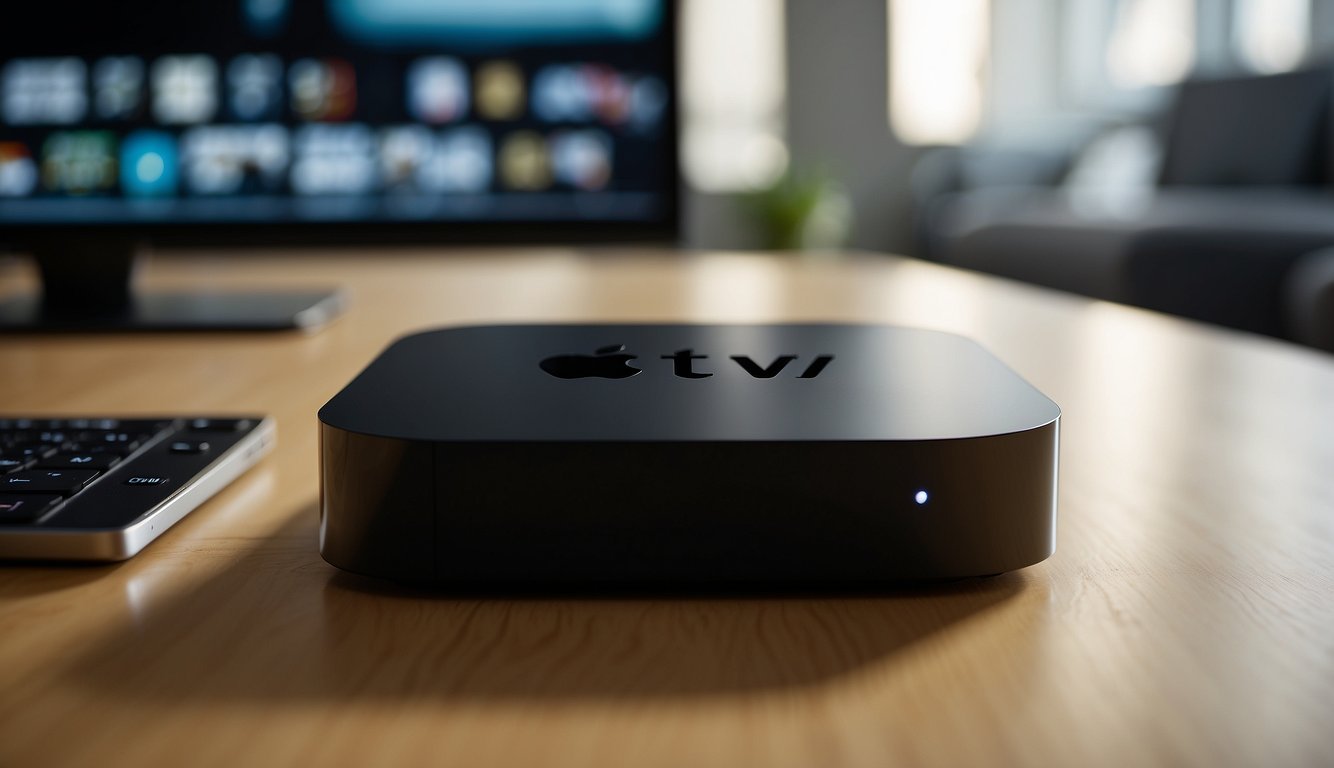
And if you’re anticipating that sweet moment of victory when your computer recognizes your Apple TV, prepare yourself for a little tech dance because when that light on the Apple TV blinks, you’re in business.
But remember, the Apple TV is picky and sometimes only wants to chat with iTunes.
Don’t worry if things get a bit hush-hush between them at first, which might happen if your computer plays hard to get and doesn’t recognize your Apple TV.
You’ll want to ensure that both devices are speaking the same language – the latest software version, that is. If all else fails, there’s always the good old “turn off and turn on again” strategy that’s been saving the tech world since time immemorial.
With a sprinkle of patience and a dash of humor, you’ll turn your entertainment space into a friendly neighborhood where Apple TV and computer live in USB harmony.
Preparing Your Gadgets
Before you go ahead and try to turn your Apple TV and computer into the best of friends, let’s make sure you’re not about to play matchmaker to incompatible devices.
It’s like trying to plug a square peg into a round hole – not going to happen, right? So grab your detective hat, and let’s do some gadget preparation!
Checking Compatibility
First off, check if your Apple TV and computer are willing to play nice. If you have a third-generation Apple TV, you’ll be looking for that elusive Micro USB port to make a connection.
Oh, and if your Mac or PC looks like something out of a museum, you might need to consider an upgrade.
- Apple TV 2nd & 3rd Gen: Micro USB (make sure it’s not hitched to power)
- Apple TV 4th Gen & later: USB-C port is your buddy
- HDMI: Just here for the high-def party, not for the USB tango
Gathering Necessary Cables
Fear not, you don’t need to raid a cable store. Here’s the scoop on what you’ll need:
- For 3rd-gen Apple TV: A Micro USB cable, but don’t you dare connect it to a keyboard port or USB hub. Go straight for your computer’s USB port—it’s a direct kind of relationship.
- 4th-gen Apple TV and beyond: A USB-C to USB cable is your weapon of choice here.
- Power cable: Keep that Apple TV energized! (Because nothing’s worse than a lazy, unpowered gadget.)
Remember, these cables are like pasta—al dente, or don’t bother. No overcooked, frayed, or damaged goods, please.
Powering Up Your Devices
Now let’s make some electricity flow! Here’s what you’ll need to do:
- Plug your Apple TV into the mains with its power cable—it’s nap time over.
- Connect the USB end of your cable to your Mac or PC. They need to be awake for this, so no screen savers or power-saving shenanigans.
- Finally, let’s not forget the HDMI cable. While it won’t help in connecting to the USB, it’s the lifeline for getting everything spectacularly displayed on your TV screen.
So with your cables at the ready and devices powered up, you’re about to bridge the technological divide. Onward, brave tech whisperer!
The Great Connection
Connecting your Apple TV to a computer can be a plug-and-play giggle fest or an investigative adventure into the ports at the back of your devices.
Either way, you’ll be the director of your very own tech symphony, orchestrating cables and connections to get that perfect harmony of media bliss.
Physical Connection Know-How
To get the ball rolling, let’s talk brass tacks: your Apple TV has an HDMI port, and your computer probably does too unless it’s from the Stone Age (in which case, condolences).
Locate the HDMI output on your Apple TV—it’s the one that looks like it could fit your mysterious key-shaped USB drives. On your Mac, it’s the HDMI port or, if you’re rocking an older model, it might be a Mini DisplayPort or Thunderbolt—those fancy cousins of the ordinary ports.
- Mac Ports:
- HDMI port (if available)
- Thunderbolt
- Mini DisplayPort
Connect these two using an HDMI cable—no, not the one you used as a makeshift belt that one time. Make sure it’s securely plugged in, or else you’ll be treated to a fun game of “Why Isn’t My Screen Doing Anything?”
Initiate the Link using HDMI
Now buckle up because our next step is like pressing the big red button in a spy movie. Grab your TV remote (not the one you use to pretend you’re a wizard), and select the correct HDMI input that corresponds to where your Apple TV is connected.
Lean back and revel in your accomplishment as your computer screen mirrors your TV, making it look like you’ve just performed a screen mirroring spell. Well done, tech wizard, well done!
- Remote Actions:
- Turn on your TV
- Select the correct HDMI input
- Gaze upon your work
Mysteries of the USB Usage
Once upon a time, the elusive USB port on the back of your Apple TV whispered secrets and mysterious purposes. Was it for service and diagnostics, or perhaps for charging your army of remote controls?
The truth is somewhat less fantastical—it’s mainly for service use and might give you a nostalgia trip back to times of wired connections. But hey, why not plug in and see if your Apple TV and computer feel like having a USB party?
Be warned, though, newer models of the Apple TV have done away with this port like last season’s fashion no-no.
- USB Port: Not for Everyday Use
- Machine diagnostics and servicing
- Not supported for general use on new Apple TV models
Wireless Wonders
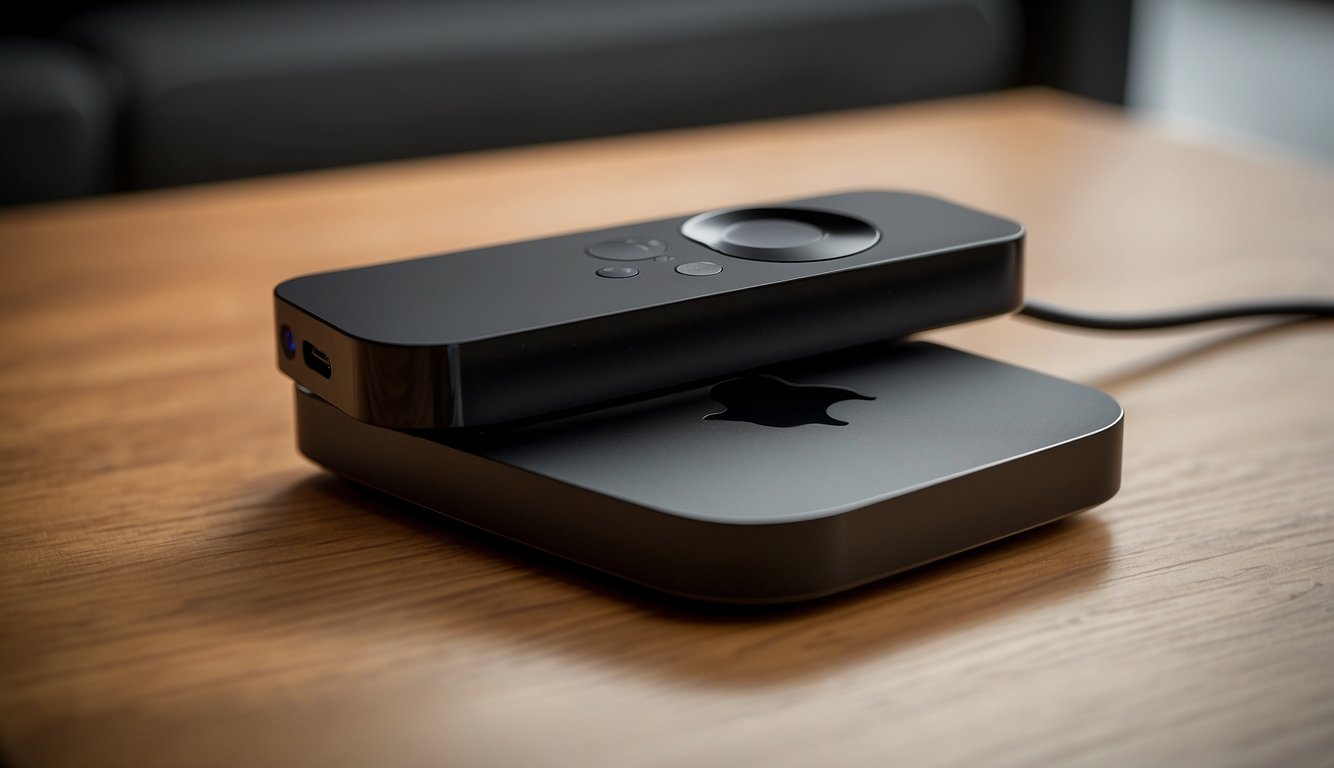
Prepare to cut the cords and embrace the freedom of wireless connectivity with your Apple TV! You’re about to discover that wires are so last season.
AirPlay Extravaganza
Experience the magic of AirPlay when you want to mirror your iOS device to your Apple TV 4K for some larger-than-life entertainment.
To make sure both devices are cozy on the same Wi-Fi network, head over to your device’s AirPlay settings and select your Apple TV. Voilà! Instant screen-magnifying goodness, sans wires.
Bluetooth Bonanza
Now, if your life’s dream is to command your Apple TV with just your voice (and who doesn’t want to feel like a wizard?), your trusty Siri remote uses Bluetooth to fulfill your every whimsical command.
Make sure Bluetooth is enabled on your iOS device, peer it with your Apple TV, and you can start bending HomeKit to your will, a veritable maestro of your smart home symphony.
Navigating the Software Seas
Ahoy there! You’re about to set sail on the treacherous waters of syncing your Apple TV with your computer.
But fear not! With the right settings tweaked and your Mac or PC setup mastered, you’ll be streaming in no time, much like a digital Columbus discovering the route to your entertainment New World.
Tweaking the Apple TV Settings
First things first, let’s fiddle with that Apple TV of yours. Like a pirate taking control of the helm, steer straight to the Settings on your Apple TV device. Dive deep into the:
-
System Settings: Here’s where the magic happens. Ensure that Home Sharing is turned on with your Apple ID. This ID is the key to the treasure chest.
-
Apple Menu: Scour through and select your Apple TV once it appears under ‘Devices’. If it’s not showing up, double-check your Wi-Fi; it’s the digital equivalent of your ship’s sails.
Mastering Your Mac or PC Setup
Don’t walk the plank just yet! Your journey continues with prepping your second mate, the Mac or PC.
-
iTunes: Old but gold, make sure you have the latest version. Navigate through iTunes like it’s uncharted waters, and click on the Apple TV icon when it appears.
-
Operating System: The wind behind your sails. Ensure it’s up to date, or you’ll be marooned with no stream in sight.
By sticking to these directives, your setup process should be smoother than a bottle of rum.
Keep a weather eye on the horizon, and remember, every good pirate knows their rigging, so familiarize yourself with the ins and outs of these software settings, lest you want to be shipwrecked on the Island of ‘I Can’t Get My Apple TV to Work.’ Arrr, now go forth and stream!
The Entertainment Experience
You’ve got an Apple TV snuggled up to your computer with a USB, and you’re about to escalate your chill sessions to epic levels. This isn’t just about flicking through channels; it’s a gateway to a universe of high-definition fun.
Harnessing High-Quality Content
Oh, the thrill of the hunt for pixel-perfect visuals! Your Apple TV connected to your good ol’ Windows PC means you’re about to indulge in a buffet of razor-sharp resolution that even your HDTV will envy.
We’re talking movies and shows from Netflix splashed across your screen like a high-def masterpiece. And sound? Prepare your ears for an audio adventure that’s more immersive than your quirky neighbor’s gossip stories.
Gaming and Apps Galore
Now, hold onto your seat because it’s about to get wild. With gaming and apps, your living room transforms into an entertainment oasis.
Your Apple TV isn’t just a media player; it’s a portal to Game Center greatness, where the colors pop and the action never stops. Who knew that seamless streaming of your top games could be as easy as pie—except without the baking mess, of course?
Plus, with such seamless connectivity, swapping from slaying dragons in games to grooving to music is smoother than your best dance moves.
