
Ever found yourself with a USB stick full of your favorite jams and an iPhone that’s just begging for a new playlist but not a computer in sight?
Fear not, my musically inclined friend! Transferring music directly from a USB flash drive to your iPhone without involving a computer is not just possible; it’s like discovering a secret handshake in the world of tech!

So, imagine your iPhone and USB flash drive at a party. They’ve never met before, and it’s your job to introduce them so they can share some tunes.
Luckily, you have the power to make that introduction without needing a clunky computer to play matchmaker.
With the right tools and a few taps on your iPhone, you’ll have your music library updated with USB’s greatest hits faster than you can say “No computer? No problem!”
Prerequisite Steps

Before you turn into a music-transferring ninja, grab a cup of coffee and let’s sift through the essentials you’ll need to complete this high-stakes mission.
Remember, every spy thriller starts with getting the right gadgets – yours start here.
Gathering the Essentials
Alright, Agent, your mission, should you choose to accept it, involves assembling the following gear:
- An iPhone that’s ready to be serenaded with some new tunes.
- A USB stick filled to the brim with your top-secret music files.
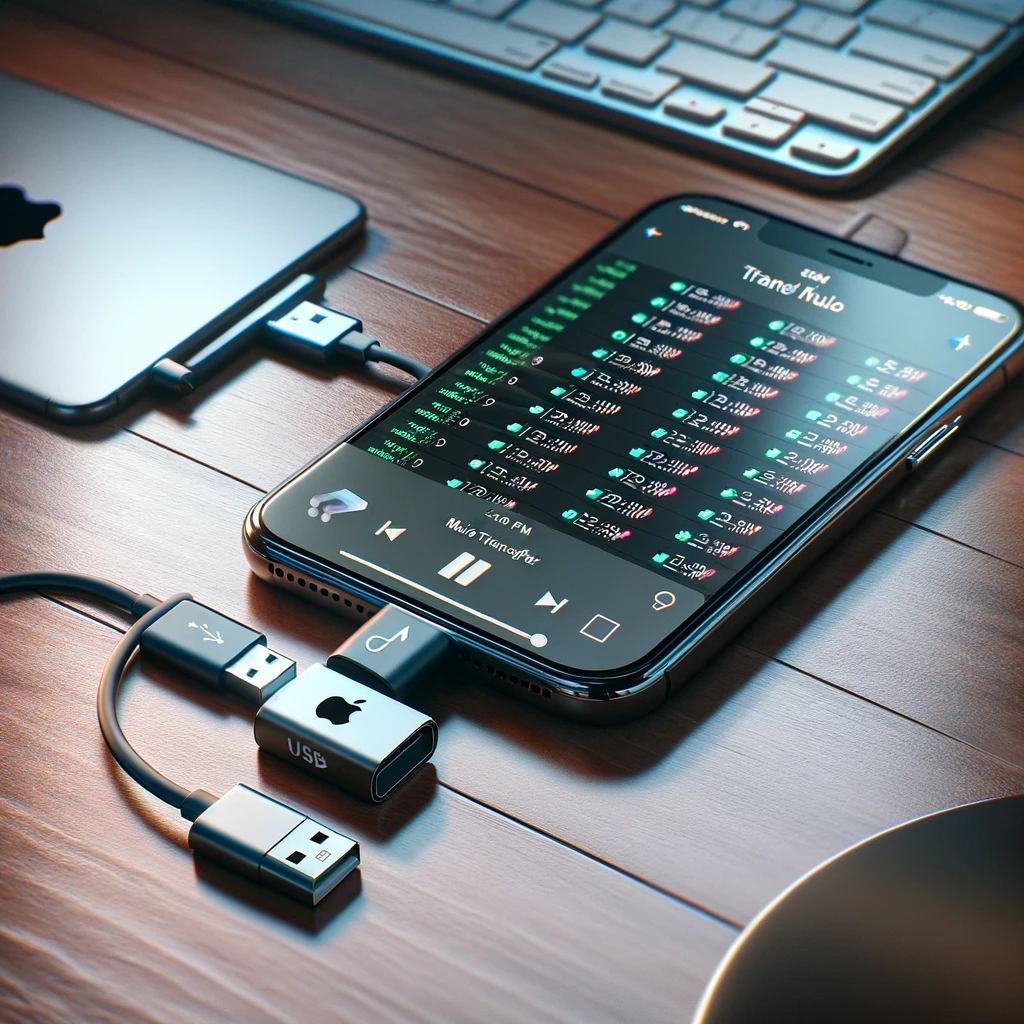
- A Lightning to USB adapter – think of it as your key to unlocking the iPhone’s musical vault without a computer in sight.
Make sure your iPhone is running the latest iOS, so it doesn’t get stage fright when you bring out the USB stick.
Understanding iPhone Music Transfer
Your iPhone is like a picky eater—it doesn’t just gobble up anything. You need to introduce those music files properly. Here’s the lowdown:
- Music Files: Only bring the music files that your iPhone’s palate finds appetizing, like MP3s or AACs.
- Support: Ensure your dongles and adapters have Apple’s blessing (MFi certified) to avoid any compatibility tantrums.
With these steps, you’ll be the life of the party, or at least the master of iPhone music transfer, sans computer!
Transferring Music: The Alternatives

So, you’ve got a USB stick full of bangers and your iPhone is thirsting for tunes, but there’s no computer in sight?
Fear not, for the digital age has blessed us with alternatives as slick as a greased otter on a water slide. Get ready to beam those beats directly to your phone!
Using Cloud Services
Let’s talk cloud storage, because sometimes you just want to stick it to the man and avoid wires completely. Services like Dropbox, iCloud Drive, and Google Drive can be your best pals here.
It’s like giving your music a virtual piggyback ride straight into your iPhone.
- Upload your music files from the USB to your chosen cloud service using a device that supports USB connection (like a friend’s computer—make sure to say thank you!).
- Next, grab your iPhone and open the cloud service app.
- Hit the “download” button on those sweet tunes and watch them parachute right into your Music app.
A little pro tip: Make sure your Wi-Fi isn’t powered by a hamster on a wheel; you want that sync to be snappy.
Email and Social Media Platforms
It might sound like trying to text with a rotary phone, but you can use email and social media to transfer music!
It’s a totally legal, slightly clunky way to get the job done when you’re in a pinch.
- Compose an email to yourself and attach a song file from your USB (using a friendly device, of course). Send it!
- Open the email on your iPhone and download the attachment. Ta-da—new ringtone alert!
- Be bold and slide into your own DMs on social media. Attach the music file in a message to yourself and then wirelessly download it from the app on your phone.
Remember, patience is key—it might be slower than a sloth on a leisurely stroll, but it’ll get there in the end.
The Step-by-Step Transfer Process
Hey music lover, ready to break free from the shackles of your computer and still get your jam on your iPhone?
Follow these “easy-as-pie” steps, and let’s get that music where it belongs—on your phone!
From USB to Cloud Storage
First things first, you’ll need to move those sweet melodies from your USB stick to cloud storage.
Picture this: you at a café, plugging your USB into a device with internet access—be it a smart TV, a game console, or that friendly robot from the future.
- Open your cloud storage provider, like Google Drive or Dropbox, on that oh-so-convenient device.
- Navigate to the files you are ready to upload and add them to your cloud storage.
- Some might say, “just drag and drop,” but we know it’s more of a click-swoosh-release maneuver.
From Cloud to iPhone
Now that your tunes are lounging in the cloud, it’s time to get them onto your iPhone. No USB or computer needed—think of it as magic, but the techy kind.
- On your iPhone, open the cloud storage app where your music now resides.
- Find your files and select the ones that make your heart sing.
- Give them the add to iPhone command, usually a download icon, and watch as they descend from their cloudy throne right into your local storage.
Using Audio File Management Apps
“But my iPhone is a fortress, and iTunes is the gatekeeper!”
Fear not, for you can bypass iTunes altogether with apps made for such rebellious tasks.
- Download an iOS data transfer tool like AnyTrans or FoneTool directly to your iPhone.
- These apps let you transfer music from USB to iPhone through your cloud or other means without so much as a peek from iTunes.
- Apps like Evermusic connect to your cloud storage allowing a sync library feature that makes the transfer music to iPhone without iTunes a breeze.
Now go rock on, wirelessly!
Troubleshooting Common Issues
Having a bit of a kerfuffle trying to sweet-talk your music files onto your iPhone without a computer, huh?
Don’t sweat it! Here’s the skinny on how to wiggle out of the most common electronic pickles you might find yourself in.
Connectivity Troubles
You’ve got your trusty USB and your Lightning to USB adapter, but your iPhone is just sitting there like a sulking teenager, refusing to acknowledge the connection.
First, make sure your adapter isn’t a knock-off from a shady back-alley deal. A true-blue Apple-certified adapter generally skips the drama.
If your iPhone still gives you the silent treatment, try reconnecting; sometimes it just takes a second date to spark a connection.
And remember, Windows, Mac, or the mysterious iOS—they all need to shake hands nicely through your settings.
File Format Woes
So, your music files are throwing tantrums and refusing to sync?
It could be a simple case of the files not speaking iPhone-ese.
Your iPhone grooves to tunes in formats like MP3, M4A, and AAC, but give it something like an AIFF file, and it’s like you’ve asked it to dance to elevator music—just not happening.
Do yourself a favor, convert those files using a friendly converter before you make the transfer. This will save you from staring at error messages that might as well be in ancient hieroglyphs.
Check out how this transfer music guide points out incompatible formats as party poopers.
Optimizing Your Music Experience

Before you transform that tangled web of tunes on your USB into a symphony of organized audio bliss on your iPhone, let’s talk strategy.
When it comes to music, your iPhone isn’t just a digital jukebox—it’s the pocket-sized concert hall of your dreams, so let’s set the stage for an epic listening session.
Curating Your Ultimate Playlist
Creating the perfect playlist is like being a DJ at your own private club—where you’re always on the VIP list.
Start by selecting your top tracks that get your head bobbing.
Think of your mood: are you all about those chill vibes or are you chomping at the bit for some high-octane anthems? Maybe a sprinkle of both?
Whatever it is, with Apple Music‘s integration, mix and match to your heart’s content.
- Genres: Keep it fresh by mixing genres. Who says you can’t have Beethoven back-to-back with Beyoncé?
- Favorites: Mark those catchy tunes that never get old with a heart, making them easy to find.
- Dolby Atmos: For a truly immersive experience, look for tracks specifically mastered in Dolby Atmos and use compatible headphones to feel every note.
Remember, there are no rules. If you want to put that guilty pleasure song right between the indie track no one’s heard of and the chart-topper, do it. Your playlist, your rules.
Managing iPhone Storage
Your iPhone’s storage is like a pie, and every app is trying to get a slice.
Music, especially high-quality tracks and those with Dolby Atmos, can be a bit of a hog.
To keep your phone from yelling “storage full!” when you download that essential road trip playlist, let’s do some housekeeping.
- Check Storage: Head into Settings and see how much space you’ve got left. It’s like checking the fridge before you go grocery shopping.
- Offline Listening: You don’t need to carry your entire music library everywhere. Save some iPhone storage for things like photos of your dog or those memes you’ll never delete. Download just your go-to playlists for offline listening.
- Curate: Keep your library fresh by regularly reviewing your playlists. If you haven’t listened to a song in six months, maybe it’s time to say goodbye.