Transferring videos from your iPhone to a USB stick is like performing a digital magic trick, and guess what? You’re the tech-savvy magician.
You’ve captured all those high-quality videos of your cat doing absolutely nothing in stunning detail, and now it’s time to free up some space on your iPhone.
Before you balk at the prospect of using a computer to intermediate the process, let me stop you right there. Who needs a bulky computer when your sleek iPhone and a puny USB stick can tango directly?

You might think this requires some ultra-modern tech that’s yet to be invented, but nope, it’s already on the market, and you’re just a few steps away from flaunting your newfound skills.
Like a culinary maestro making a gourmet dish out of leftovers, you can transfer your precious video memories onto a USB stick without the need for any tech stewards in the form of a computer.
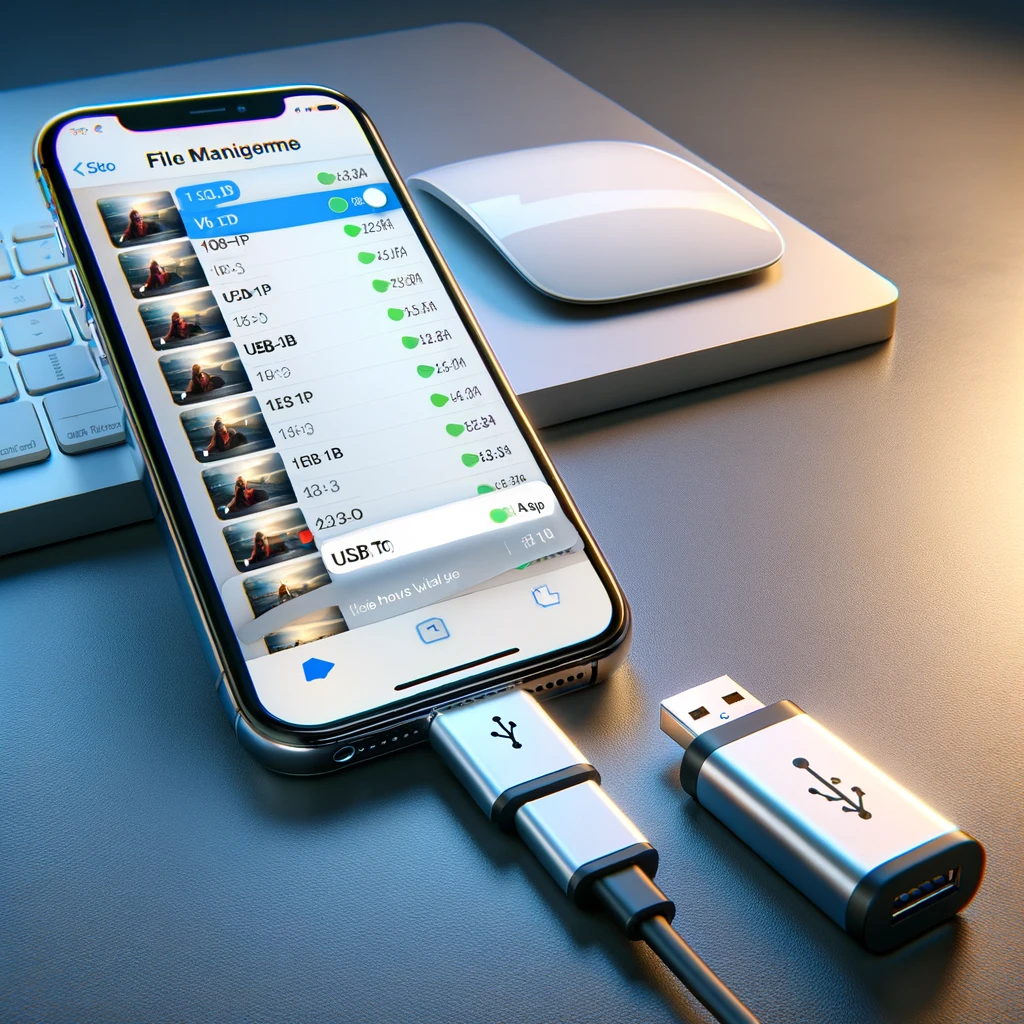
The secret lies in a pocket-sized lightning-to-USB adapter – your clandestine weapon that bridges the mighty iPhone with the humble USB stick.
Get ready; it’s time to perform this stealthy file-transferring act that might just make your computer green with envy.
Gear Up: What You’ll Need
Before you turn your iPhone into a movie vending machine that spits out videos onto a USB stick, let’s gear up. You’ll need some special tools, because, unfortunately, your iPhone won’t high-five a USB stick without a proper introduction.
Choosing the Right USB Stick
Opt for a USB stick with enough storage to handle your cinematic masterpieces.
Think about it – if your videos were cats, would you shove them all into a tiny box? No way!
Go for 32GB at the bare minimum, or be bold with 128GB or more if you’re the next Spielberg of iPhone videography.
Grab an iPhone Lightning to USB Adapter
Your iPhone is picky about making friends with other gadgets. You’ll need to charm it with an iPhone Lightning to USB Adapter.
This magical wand lets your iPhone and the USB stick get cozy and transfer files. Make sure it’s official or MFi-certified (Meaning: “Made for iPhone/iPad”) so that it doesn’t throw a fit.
Prepare Your iPhone
Before you even think about touching that USB stick, ensure your iPhone isn’t about to burst at the seams with your 10,000 selfies and dog videos. Get your digital house in order—trust me, your future self will high-five you for it.
Free Up Some Room: Manage Your Storage
First thing first, let’s do some spring cleaning but, like, digitally.
Head to Settings > General > iPhone Storage. You’ll see a snazzy little color-coded bar that shows what’s hogging all your space.
Offload the apps you downloaded for that one thing that one time and say “see ya” to them until you need them again. Better yet, check for any forgotten episodes of “Keeping Up with the Dinosaurs” that might be lurking around and zap ’em.
- Offload Unused Apps: Automatic offloading for those “just in case” apps.
- Review Large Attachments: Time to delete those “hilarious” GIFs from 2017.
- Clear Old Messages: Because do you need your texts from that flaky friend who ghosted you last year?
Locate Yo’ Videos
Now onto the star of the show—your videos. Grab your digital magnifying glass and snoop through Photos > Albums > Videos to find the baby’s first steps, the salsa dance challenge, or perhaps, the cinematic masterpiece of your cat knocking things off the counter—pure gold.
- Select Your Favorites: Tap on each video you want and hit the share icon, it looks like a less-squiggly WiFi symbol.
- Create an Album: If your thumb has a tad too much enthusiasm, consider making a New Album for easy-peasy selection later. Just don’t name it something forgettable like “New Album 472.”
Just a heads up, don’t try to transfer the director’s cut of your life—it won’t fit on the USB stick. Keep it down to the must-haves, alright?
Direct Transfer Techniques

In today’s world of wireless wonders and pocket-sized tech marvels, you have some nifty tricks up your sleeve to bypass the old computer and get your cherished videos from your iPhone to a USB stick. Let’s dive into the methods that’ll make your friends think you’re a tech wizard.
The Files App Tango
First off, grab your iPhone and swing along with the Files app. Here’s how you can boogie the data shuffle:
- Connect a Lightning to USB adapter to your iPhone.
- Attach your USB stick to the adapter.
- Open the Files app and select the videos that you want to transfer.
- Press and hold to copy them and then navigate to your USB stick folder.
- Tap and hold a blank space to paste the videos onto your USB stick.
And voilà! You’ve transferred without trudging through computer terrain.
iXpand and Maktar Moves
Got a SanDisk iXpand Mini or a Maktar gadget? You’re in for a treat:
For SanDisk iXpand Mini:
- Insert the iXpand drive into your iPhone.
- Use the iXpand Drive app to select and transfer your videos directly to the drive.
For Maktar:
- Plug the Maktar adapter into your iPhone.
- Use its dedicated app to cherry-pick and migrate videos over to the USB stick.
These flashy dance partners cut out the middleman and get your files where they need to go.
Wireless Jiggles with Sandisk
Last but not least, if you prefer a tango without any tangling wires, go wireless with the SanDisk Wireless Stick. Just follow these steps:
- Connect the Wireless Stick to your iPhone via the SanDisk Connect app.
- Choose the videos you wish to transfer within the app.
- Hit the Transfer button and your videos frolic over to the stick, no strings attached!
Leveraging Cloud Power

Before you succumb to the Sisyphean struggle of cables and connections, remember: the cloud’s got your back! It’s like the pizza delivery of your digital life – always there to bring you what you need.
iCloud: Your Video Vault in the Sky
Look up! Your videos are floating in an iCloud, just chilling and waiting for you to come visit. You’ve got a handy iCloud storage, which means if your iPhone and that mysterious entity we call “the cloud” are on speaking terms (aka connected to Wi-Fi), your video leap from iPhone to USB stick can be a carefree cloud cruise. Here’s the simple scoop:
- Ensure iCloud Photos is enabled on your iPhone: Head to Settings, tap your name, plunk on iCloud, and then go to Photos to toggle on iCloud Photos.
- Wait for the magic: Your iPhone will start uploading your cinematic masterpieces to iCloud.
- Grab a device with a USB port: Log in to iCloud.com with your Apple credentials.
- Transfer: Select those videos and download them, straight onto your USB stick. No sweat, no tears, no computer!
Third-Party Cloud Shindigs
Not riding the iCloud wave? No problemo, amigo. You’ve got pals in the cloud biz like Google Drive and Dropbox that can do the tango with your iPhone too. You’re the VIP at this party, and your iPhone videos are the +1.
- Start the party with a tap: Download the app of your choice on your iPhone; we’re talking Google Drive, Dropbox, or any other cloud service that tickles your fancy.
- Upload your memories: Open the app, and upload your videos. They’ll shimmy up to the cloud quicker than you can say “Where’s my USB stick?”
- The grand entrance on your USB: Access your chosen cloud storage services from a computer or any gizmo with a USB hole. Download your videos and escort them onto your USB stick.
FAQs and Troubleshooting

Ah, so you’ve decided to leap into the tech-savvy world of transferring videos from your iPhone to a USB stick without a computer. Exciting, isn’t it? But wait, why does it feel like you’re trying to download your entire life’s history on a dial-up connection? And why does your iPhone act like it’s not speaking the same language as your USB stick? Fear not! Let’s untangle this digital spaghetti together.
Why Is This Taking Forever?
Transfer Speed: Are you watching a glacier move while waiting for your videos to transfer? It’s probably not your iPhone’s way of telling you to slow down and smell the roses.
Check your USB stick. If it’s older than your grandma’s heirloom earrings, it might be using a USB 2.0 port. This is like trying to squeeze your HD video through a straw.
Consider upgrading to USB 3.0 or newer. It’s like opening the floodgates to faster transfer speeds. iPhones like the iPhone 11, iPhone 13, and the souped-up iPhone 14 Pro Max love speed, and so should your USB stick.
Compatibility Quirks, such as the file format of your videos, can also throw a wrench in the works.
Your USB must be formatted to a file system that plays nice with both your iPhone and, say, your smarty-pants smart TV for playback.
Compatibility Quirks and Considerations
Video Quality and File Size: A 4K video taken on your iPhone 13 or iPhone 14 Pro? That’s like trying to fit a dinosaur through a cat flap on your USB stick. If you don’t want to compromise on quality, make sure your USB stick has enough space and is formatted correctly.
For those beefy files, exFAT is a good format to use.
iPhone Generations: Got an iPhone 11? Your transfer might be like a cool autumn breeze. Rocking an iPhone 14 Pro Max? You’re in the future, where things should zip along! However, if it feels like your iPhone is just sticking its tongue out at you, it might be a case of ensuring your devices are speaking the same love language, also known as file format.

