
Looking for a way to manage your digital files at home?
A Network Attached Storage (NAS) device might be just what you need. It’s like having your own personal cloud storage right in your house.
NAS devices let you store, share, and access files from any device on your home network. You can back up your computers, stream movies to your TV, and even access your files when you’re away from home. It’s a handy solution for families or anyone with lots of digital stuff.
Setting up a NAS isn’t too hard. You connect it to your router, add some hard drives, and you’re good to go. Many NAS devices are easy to use and come with apps to help you manage your files. Plus, they often use less energy than keeping a computer on all the time.
Key Takeaways
- NAS devices provide centralized storage and file access for your home network
- You can use a NAS for backups, media streaming, and remote file access
- Setting up a NAS is relatively simple and can save energy compared to using a dedicated computer
Connecting the Dots: NAS Fundamentals
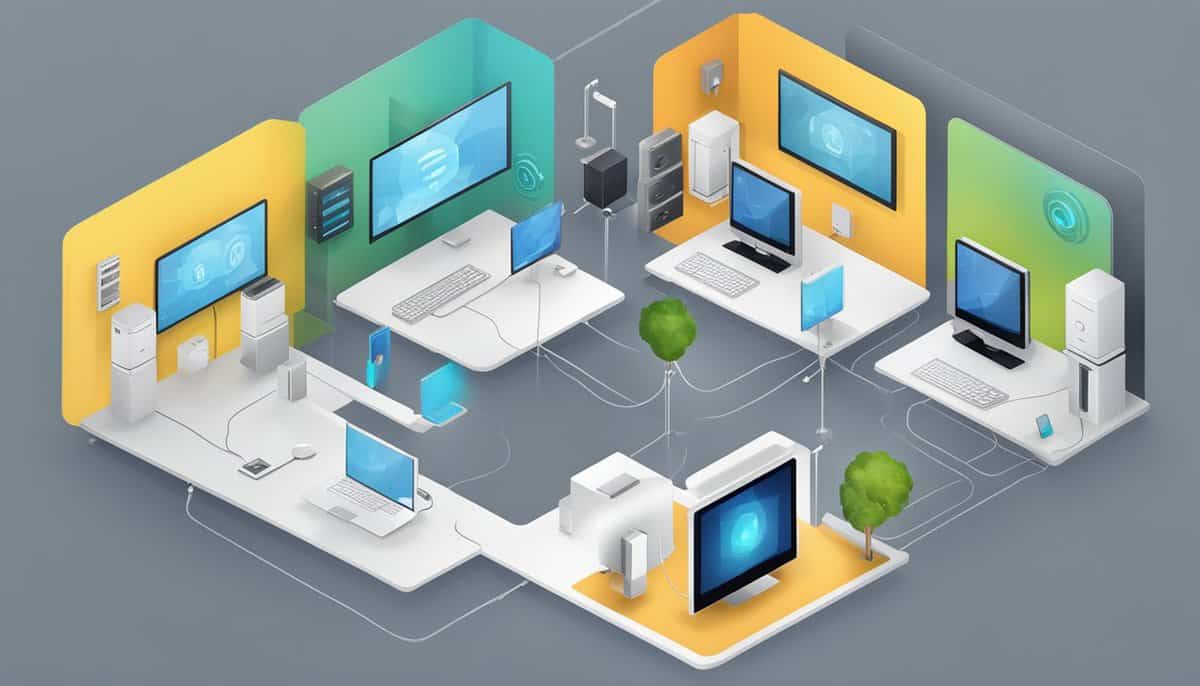
NAS devices offer a powerful way to manage your digital life at home. They provide centralized storage, easy file sharing, and media streaming capabilities.
Understanding NAS and Its Role in Home Networks
Network-attached storage (NAS) is like a personal cloud for your home. It’s a dedicated device that connects to your router, letting you store and access files from any device on your network.
NAS units are great for backing up your computers and phones. You can also use them to stream movies and music to your TV or other devices.
One big plus of NAS is file sharing. It’s easy to set up folders that everyone in your family can access. This makes it simple to share photos, videos, and documents.
The Anatomy of NAS: Drive Bays, Storage Space, and Hardware
NAS devices come in different sizes, with varying numbers of drive bays. More bays mean more storage space and flexibility.
Most home NAS units have 2-4 bays. Each bay can hold a hard drive, typically ranging from 1TB to 14TB in size.
Key hardware components in a NAS include:
- CPU: Handles file operations and streaming
- RAM: Affects how many tasks the NAS can handle at once
- Ethernet ports: Connect the NAS to your network
Storage capacity can be huge. With four 14TB drives, you could have up to 56TB of space!
The Big Names in NAS Devices: Synology, QNAP, and Others
Synology and QNAP are two of the most popular NAS brands for home users. They offer user-friendly interfaces and lots of features.
Synology is known for its easy-to-use DSM operating system. Their devices are great for beginners and power users alike.
QNAP offers more hardware options and is popular with tech-savvy users. They have models with powerful CPUs for tasks like video transcoding.
Other brands to consider include Western Digital, Asustor, and TerraMaster. Each has its own strengths, so it’s worth comparing features to find the best fit for your needs.
Getting Technical: Setting Up and Using Your NAS
Setting up your NAS can seem tricky, but it’s easier than you might think. Let’s walk through the process step-by-step and explore how to make the most of your new device.
From Unveiling to Operation: Setting up Your NAS at Home
Start by unpacking and connecting your NAS to your home network. Most NAS devices have simple setup wizards to guide you through the process. You’ll need to choose a RAID configuration for your hard drives. RAID 1 is great for beginners, as it mirrors your data for extra safety.
Next, create user accounts and set permissions. This lets you control who can access what on your NAS. Don’t forget to set up automatic backups – it’s a key feature of NAS systems.
Navigating the User Interface and Managing Files
Your NAS will have a web-based interface for easy management. Here, you can create shared folders and organize your files. Think about how you want to structure your data:
- Media files (photos, videos, music)
- Documents
- Backups
You can access these files from any device on your network. Many NAS systems also offer mobile apps for on-the-go file management.
Remote Access and Building Your Personal Cloud
To access your NAS from outside your home network, you’ll need to set up remote access. This turns your NAS into a personal cloud. Most NAS devices offer user-friendly ways to do this securely.
You can then stream media, access files, or even back up your phone while away from home. Just remember to use strong passwords and two-factor authentication to keep your data safe.
Consider setting up VPN access for an extra layer of security when connecting remotely.
The Storage Showdown: NAS vs Cloud Storage Solutions

Choosing between NAS and cloud storage can be tricky. Both have unique strengths for home users looking to manage their digital files.
Comparing Storage Solutions: When to Choose NAS Over Cloud
NAS shines when you need fast access to large files. It’s great for storing and streaming media within your home network. You’ll get better performance for tasks like editing videos or working with big photo libraries.
Cloud storage wins for easy sharing and access from anywhere. But NAS gives you more control over your data. You don’t have to worry about a company changing their terms or going out of business.
Cost is another factor. NAS has a higher upfront cost but no monthly fees. Cloud storage often has free options for small amounts of data, but fees add up for larger storage needs.
Bridging the Gap Between HDDs, SSDs, and Cloud Services
NAS systems often use hard drives (HDDs) for their large capacity and lower cost. But many now offer SSD options or SSD caching to boost speed.
Cloud storage typically uses a mix of HDDs and SSDs behind the scenes. You don’t have to manage the hardware, which is nice.
For the best of both worlds, consider a hybrid approach. Use NAS for your main storage and backups. Then use cloud services for easy sharing and as an extra backup layer.
This setup gives you fast local access and the peace of mind of off-site storage. It’s a smart way to protect your data and keep it easily accessible.
Maximizing Your NAS Experience

Get the most out of your NAS by turning it into a media powerhouse, protecting your data, and boosting performance. These tips will help you unlock your NAS’s full potential.
Transforming Your NAS Into a Powerful Media Server
Make your NAS the heart of your home entertainment setup. Install Plex to organize and stream your media collection to any device. Many NAS devices offer HDMI output, letting you connect directly to your TV.
Set up on-the-fly transcoding to watch your content anywhere, even with slow internet. This feature converts videos to a format your device can play smoothly.
Create separate user accounts for family members. This keeps everyone’s content organized and private.
Don’t forget about music! Use your NAS to store and stream your entire music library throughout your home.
Leveraging RAID Configurations for Data Protection and Redundancy
RAID setups can safeguard your precious data. RAID 1 mirrors your data across multiple drives, creating an exact copy. If one drive fails, you won’t lose anything.
For larger setups, consider RAID 5 or 6. These offer a good balance of storage space and protection.
Remember, RAID isn’t a backup! It protects against drive failure, but not accidental deletions or ransomware. Always keep separate backups.
Enable encryption on your NAS. This adds an extra layer of security, protecting your data if your NAS is stolen.
Optimizing Performance: Network Speeds and SSD Caching
Upgrade to a 2.5 Gigabit Ethernet (2.5GbE) connection for faster file transfers. This can dramatically improve your NAS experience, especially when streaming high-quality video.
Add an SSD cache to your NAS. This speeds up access to frequently used files without the cost of an all-SSD setup.
Optimize your network. Use wired connections where possible and place your NAS close to your router.
Adjust file compression settings. This can save space but might impact performance. Find the right balance for your needs.
Set up automatic backups from your computers to your NAS. This ensures you always have the latest versions of your files safe and sound.
The Technical Support Corner

When using a NAS, you’ll want to know about warranties and tech support options. You’ll also need some tips for everyday use and troubleshooting.
Ensuring Longevity: Warranties and Tech Support
Most NAS devices come with a warranty. It’s usually 1-3 years, but some offer up to 5 years. Check the details before you buy. Some brands, like Synology, are known for good support.
Look for:
- 24/7 tech support
- Online knowledge bases
- User forums
Many NAS makers have mobile apps for remote management. This can be handy if you need help on the go. Some even offer remote diagnostics.
Tips and Tricks: From Everyday Use to Troubleshooting
Keep your NAS up to date. Regular updates fix bugs and add features. Set up automatic updates if you can.
Here are some quick tips:
- Use WD Red drives, they’re made for NAS
- Don’t overload your NAS with too many tasks
- Keep it cool and dust-free
If you’re tech-savvy, try running virtual machines on your NAS. Models with Intel Celeron processors often support this.
For troubleshooting:
- Check all cables
- Restart the NAS
- Look up error codes online
The ASUSTOR Lockerstor is known for easy setup and use. It’s a good choice if you’re new to NAS.