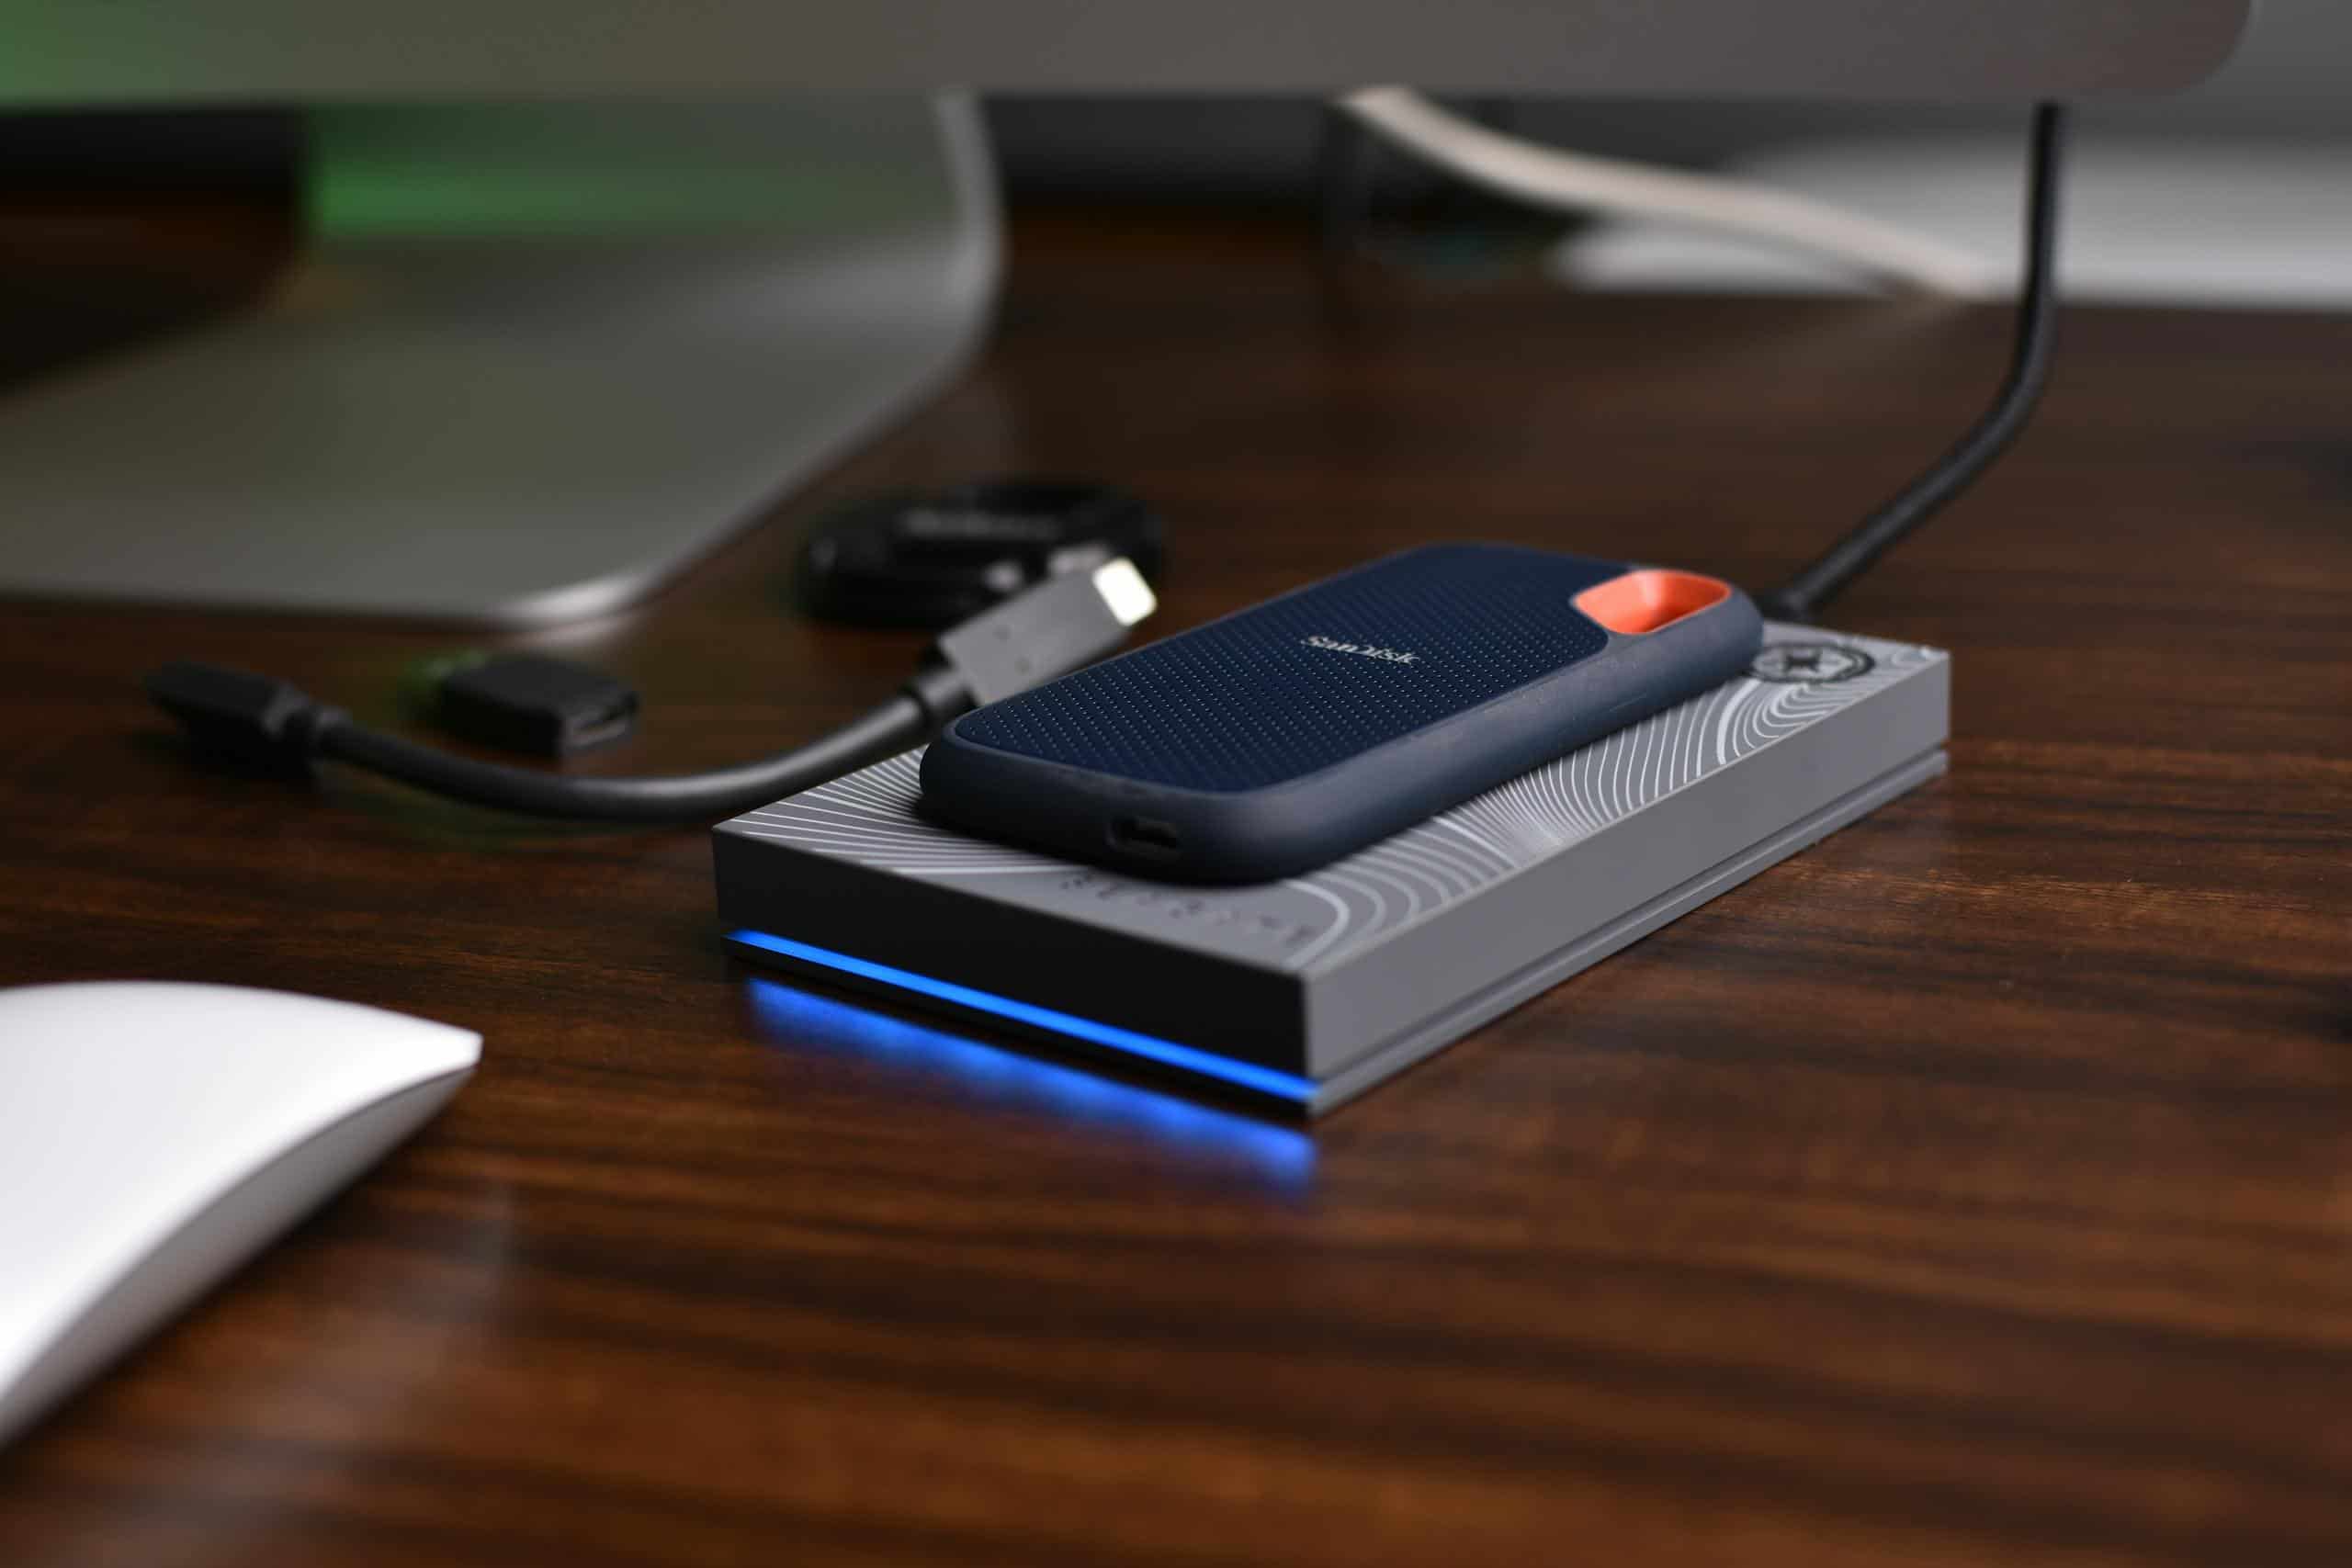
Upgrading to a new computer often comes with the question of what to do with your old storage drives. If you have an old SSD with your previous system’s Windows installation, you might consider using it in your new setup.
Solid-state drives (SSDs) offer superior read and write speeds over traditional hard disk drives (HDDs), which translates to quicker boot times and snappier system performance.

When moving an SSD to a new computer, you should be aware of potential complications. Your old SSD might have driver or hardware configurations that are incompatible with your new computer.
This could lead to issues when attempting to boot from the old SSD. Compatibility with your new system needs to be checked, and in most cases, it’s advisable to perform a fresh install of the operating system to ensure a smooth transition.
Properly integrating an old SSD into a new system also involves a few BIOS tweaks. Ensuring your new computer’s BIOS is set up to recognize the SSD as the boot drive is crucial.
You should also verify that the data transfer mode (SATA or PCIe, for example) matches your new computer’s capabilities to get the most out of your SSD’s performance. Using your old SSD in your new computer can be a cost-effective way to boost the system’s overall responsiveness while making use of a drive that might otherwise sit idle.
Preparing the Solid-State Drive
Before installing an old SSD into a new computer, it’s important to ensure that the drive is properly prepared to prevent data loss and guarantee compatibility. This preparation includes backing up data, updating firmware, confirming compatibility, and deciding on the best installation method for your operating system.
Data Backup and Transfer Procedures
Backup: Safeguard your files by backing up your old SSD. You can use an external hard drive or a dedicated backup tool to transfer your data.
Transfer: After backing up, ensure you have a method to transfer your files to the new drive. Often, this involves using the backup medium during the restoration process.
Drive Health and Firmware Updates
Check your SSD’s health using your drive manufacturer’s software to ensure it’s in good condition. An outdated firmware may result in compatibility issues; thus, visiting your SSD manufacturer’s website to download the latest updates is a critical step.
Compatibility and Form Factor Considerations
Evaluate the form factor and interface of your old SSD—whether it’s a 2.5″ drive, M.2 NVMe, or SATA SSD—and ensure it fits in your new PC. Some motherboards may not have the required slot or interface for all types of SSDs, leading to compatibility issues.
Cloning vs. Clean Installation
Cloning allows you to copy the entire contents of your old SSD to a new drive. For this, third-party cloning software might be necessary.
Clean Installation: Performing a clean install involves installing a fresh operating system on your new SSD, which can often lead to better performance.
Operating System and Activation
If you’re using Windows 10, you’ll need to consider re-activation. For a cloned drive, the system might just work without hassle. However, a clean installation may require you to reactivate Windows using your Microsoft account or product key. This is a step that cannot be ignored to ensure your new system runs smoothly and legally.
Installation Process
Transferring your existing SSD to a new PC requires careful handling of both hardware and software. This section will guide you through the critical steps from physical installation to software setup.
Physically Installing the SSD
To install your SSD into a new PC, first determine the type of SSD you have—either a SATA SSD or an M.2 SSD. For a SATA SSD, you’ll need a SATA cable to connect to the motherboard and a power cable from the power supply.
Mount the SSD in a drive bay using a mounting bracket if it’s a 2.5-inch SSD in a 3.5-inch bay. In contrast, an M.2 SSD slots directly into the motherboard—no cables required. Ensure the computer is off and unplugged before beginning.
Boot and BIOS Configuration
After physically installing the SSD, power on your new PC and enter the BIOS setup. Locate the boot sequence options and set your SSD as the primary boot drive. This might be straightforward if it’s the only storage device connected. If not, you might need to identify the SSD by its brand or serial number.
Installing the Operating System
If you’re performing a clean install of an OS like Windows, prepare a USB drive with the installation media. Boot from the USB and follow the prompts to reinstall Windows on your SSD. If your SSD already contains an OS, you might need to perform a repair installation or reinstall in case of incompatibility issues with the new hardware.
Driver and Software Updates
Once the OS is installed, check for driver updates. Visit the manufacturer’s websites for your hardware components to download the latest drivers. Updating is critical for optimal performance and resolving any hardware compatibility issues.
Troubleshooting Common Issues
During installation, you may encounter problems such as the BIOS not recognizing the SSD or Windows failing to boot properly. In such cases, review the BIOS settings for proper boot order, check the SSD’s connections, and consider using the OS’s recovery features. For persistent issues, consulting the SSD’s manual or manufacturer’s troubleshooting guides can be invaluable.
Optimizing System Performance

When you install an old SSD into a new computer, fine-tuning system settings and managing software updates are critical steps to maximize the drive’s performance. Paying attention to data security measures ensures your transition is both efficient and safe.
System Settings and Storage Optimization
Your SSD’s performance can be largely influenced by Windows system settings. To optimize your storage:
- Set your power plan to ‘High Performance’ to ensure your SSD operates at its full speed.
- Use Windows’ built-in Disk Cleanup utility to remove unnecessary files, which can help improve storage efficiency.
To further enhance performance, consider adjusting the power plan settings for your SSD or evaluating the system’s TRIM function, which can help maintain the speed and lifespan of your drive.
Software and Update Management
Keep your operating system and drivers up-to-date to maintain optimal SSD performance. Windows often releases updates that include performance improvements and driver updates for your SSD:
- Regularly check for OS updates under Settings → Update & Security.
- Ensure that your SSD firmware is current, as manufacturers sometimes release updates specifically designed to improve speed and compatibility.
Software that you no longer use can also be uninstalled to free up space and resources. A clutter-free SSD is a faster SSD.
Ensuring Data Security and Integrity
Transferring an old SSD to a new PC can present risks to your data’s integrity, making backup and recovery plans essential.
- Utilize a reliable backup tool before making any system changes to avoid data loss.
- Consider formatting the system partition after you’ve secured your data backup for a clean OS installation.
Encrypting your SSD is a wise step to protect data, and Windows offers features like BitLocker for this purpose. Regularly check the health of your SSD using utilities that can forecast potential drive failure and allow you to secure your data promptly.
Migrating to a New SSD

When you’re ready to upgrade to a faster SSD or need more storage, the key to a successful migration involves careful selection of your new drive and a meticulous data transfer process. Below, the steps to choose the right SSD, migrate your data, and stay ahead with the latest technology are outlined.
Choosing a Replacement SSD
Find a suitable replacement SSD that aligns with your needs and computer’s capabilities. Two main types to consider are SATA SSDs, which are compatible with older hardware, and M.2 NVMe SSDs, offering faster speeds for modern setups.
Evaluate your motherboard or laptop’s specifications to determine the compatible type and opt for a size that meets your future storage needs. This decision ensures you can swap out your old drive without compatibility issues.
Data Migration and Software Setup
The process of migrating your data to the new SSD typically involves a disk clone. This allows you to transfer all your existing data, including your operating system and applications, directly to the new drive.
Tools like Macrium Reflect or Clonezilla can assist with this process. First, connect your new SSD to your PC and initialize it. Next, use cloning software to replicate the old SSD’s content. After successfully cloning, your computer can swap to boot from the new SSD, making it your primary drive.
Future-Proofing with Technology Upgrades
When upgrading to a new SSD, consider future-proofing your investment. If your computer supports it, choosing an M.2 NVMe SSD can offer a significant boost in speed and performance, often worth the higher cost.
This upgrade is a progressive step that keeps in line with evolving technology, ensuring your system can handle forthcoming data-heavy applications and tasks. Remember, SSDs also have a finite lifespan, so your new SSD’s durability and reliability are as important as its performance metrics.

