
When your computer starts to slow down, one of the symptoms you might notice is the hard drive activity light staying on continuously. This light, typically found on the front of desktop cases or the side of laptops, gives you a visual indication of your hard drive’s activity.
A constantly lit hard drive light can indicate that your computer is overexerting itself, which might be the reason behind the sluggish performance you’re experiencing.

Understanding why the hard drive light remains constantly on is key to diagnosing the root cause of a slow computer. This could point towards continuous read-and-write operations that are taking up system resources, or it could signal a problem with the drive itself.
In some instances, it’s normal behavior during heavy tasks, but if your system remains slow even during light use, it could be a sign that there’s a more significant issue at play.
Understanding Hard Drive Activity Lights
Your computer’s hard drive activity light is a straightforward yet vital indicator of your system’s functioning. It provides real-time status of your hard drive’s operation, helping you understand when your machine is reading or writing data.
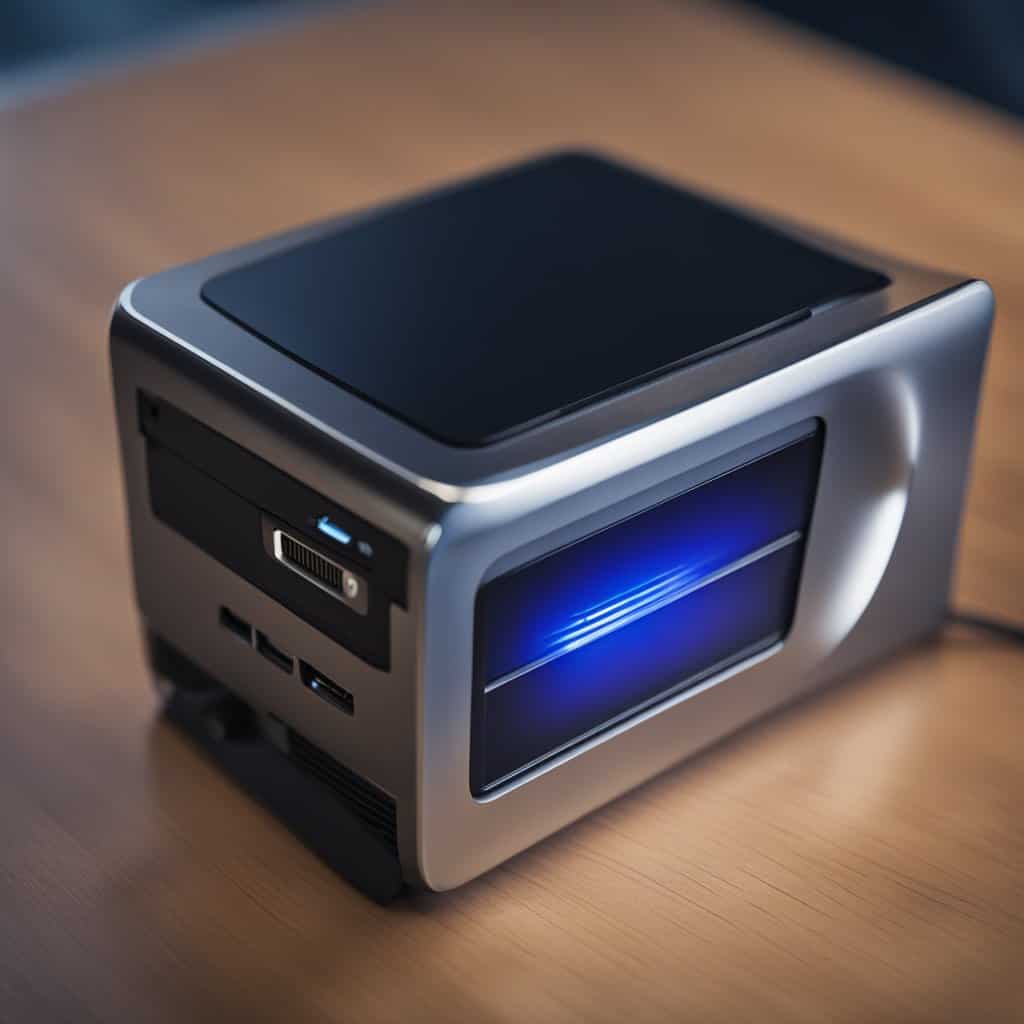
Hard Drive Activity Indicator
Hard drive activity lights are small LEDs located on the front of most desktops and some laptop computers. When you see this light flashing, it indicates that your hard drive is actively engaged in reading or writing data.
Continuous light might mean sustained data activity or, in some cases, a sign that your system is experiencing a bottleneck or issue.
Interpreting the HDD LED Colors
Generally, the HDD LED emits a red or amber color when it is in operation, signifying that the hard drive is busy with tasks. Some systems may have different colors to indicate various modes of operation, such as green for idle or blue for high-performance usage.
It’s important to familiarize yourself with what these colors mean specifically for your computer, as they can provide valuable insight into the state of your hard drive activity.
Diagnosing a Slow Computer
When you notice your computer slowing down and your hard drive activity light constantly on, it’s crucial to diagnose the issue effectively. Proper diagnosis can pinpoint whether high CPU usage, RAM bottlenecks, or other factors are at play.
Identifying High Resource Usage
The first step in diagnosing a slow computer is to check for high resource usage. Open your Task Manager by pressing Ctrl+Shift+Esc. Under the Processes tab, observe the CPU usage and RAM consumption. Applications with an unusually high percentage may be causing your system to lag.
- CPU Usage: Consistently high CPU usage can indicate a resource-heavy program or a background process consuming more power than it should.
- RAM: If your RAM usage is close to full, it means your computer is working hard to manage all the running applications. This can severely slow down your system.
Common Culprits Behind System Slowdown
Several factors might be responsible for your computer’s reduced performance:
Disk Activity: Under the Performance tab in Task Manager, switch to the Resource Monitor. High disk activity may suggest that your storage device is being overworked.
- Bad Sectors: Bad sectors on your hard drive can slow down disk read/write speeds; these can be checked using tools like chkdsk.
-
Antivirus Programs: While necessary for protecting against malware and viruses, antivirus software can sometimes use a hefty chunk of system resources during scans.
-
Malware: Malicious software can run in the background without your knowledge, using up CPU and RAM. Run a thorough scan with reputable antivirus programs.
-
Services: Some services may start automatically and run in the background. Investigate these services and their impact on system resources to see if they are necessary or can be disabled.
To maintain optimal performance, regularly monitor your system’s resource usage, keep your antivirus updated, and schedule regular system checks to catch and fix issues early.
Improving Computer Performance

To optimize your computer’s efficiency, particularly when you’re experiencing constant hard drive activity and sluggishness, it’s essential to implement routine system maintenance and consider hardware and software upgrades.
These steps can mitigate performance problems and enhance your computer’s responsiveness.
Routine System Maintenance
Backup Your Data: Regular backups are vital for protecting your data. Use an external hard drive or network-attached storage (NAS) to safeguard your files.
- Restart Your Computer: Sometimes, simply restarting your system can resolve performance issues.
- Perform a Malware Scan: Utilize reliable antivirus software to scan for and remove any malware that could be affecting performance.
- Run Disk Cleanup and Chkdsk: Use built-in tools like Disk Cleanup to free up space. Additionally, running ‘chkdsk’ in the command line helps find and fix bad blocks and file system errors.
- Update Your System: Keep your operating system and software up to date through automatic updates to ensure you have the latest performance improvements and security patches.
Upgrading Hardware and Software
Increasing Memory and Storage: Upgrading your RAM and swapping your current hard drive for a solid-state drive (SSD) can greatly enhance your computer’s speed.
- Consider Additional Storage Solutions: If you’re running out of space, adding larger or additional internal drives, external hard drives, or flash drives can help.
- Update or Replace Aging Components: Older computers might benefit significantly from new hardware components, including faster processors or newer motherboards, which can reduce the strain on your hard drive and improve overall performance.
Troubleshooting Hardware Issues

When your computer exhibits performance issues like sluggish behavior with the hard drive activity light remaining on, it’s essential to perform methodical hardware troubleshooting.
Key considerations include checking for any physical damage to your hard drive and ensuring secure connections between it and the motherboard.
Checking for Physical Damage
Inspect your hard drive (HDD) for any signs of physical damage. Carefully remove it from your computer case, whether it’s a desktop, laptop, or small form factor computer. Look for any visible defects such as dents or scratches on the HDD itself.
Listen for unusual sounds when it’s powered on. If you detect any physical damage, it’s crucial to back up your data immediately using reliable backup software.
Investigating Hard Drive and Motherboard Connections
Ensure your hard drive is properly connected to the motherboard. A loose SATA cable can cause the hard drive light to stay on and result in performance degradation:
- Power off your computer and unplug it from the power source.
- Open up the case and locate the HDD.
- Identify and inspect the SATA cable connecting your HDD to the motherboard.
- Ensure the cable is firmly seated on both ends.
- If the cable is damaged, replace it and check the hard drive light again.
These steps should help identify any hardware issues contributing to your computer’s slow performance and constant hard drive activity.