
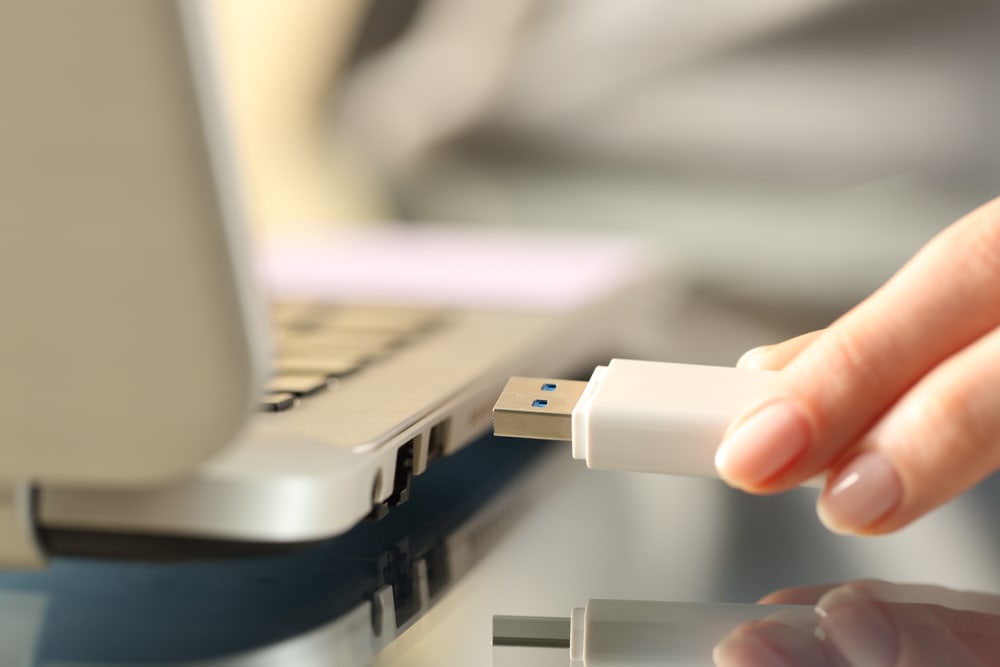
When using a USB drive as a bootable device, it’s essential to know how to stop your PC from booting from the USB when necessary. This can be useful in situations where you no longer need the USB drive to start your computer, or you want to prevent unauthorized access to your system through a bootable USB.
In this article, we will explore how you can easily manage and stop your PC from booting from a USB drive.
It’s important to understand that the computer’s BIOS (Basic Input/Output System) or UEFI (Unified Extensible Firmware Interface) is responsible for determining the boot sequence.
The boot sequence controls the order in which your computer searches for a bootable device, such as a hard drive, CD/DVD drive, or USB drive. By modifying the boot sequence, you can prevent your PC from booting from a USB drive and ensure it boots from the desired device, such as your primary hard drive.
To stop your PC from booting from a USB, you will need to access the BIOS or UEFI settings and adjust the boot order accordingly. This process may vary depending on your computer’s manufacturer and model.
However, some common steps include restarting your computer, entering the BIOS or UEFI settings (typically by pressing a designated key like F2, F10, or Del), and then navigating to the boot options to adjust the boot sequence.
Understanding BIOS and UEFI Firmware
Navigating BIOS Setup
The Basic Input/Output System (BIOS) is a firmware that initializes and configures hardware during the boot process. It is responsible for starting the operating system (OS) and managing the communication between the OS and the hardware.
To access the BIOS setup, press a designated key (such as F2, F10, or Del) during the computer’s startup process.
Inside the BIOS setup, you will find various options and settings related to the system hardware. One of the primary settings you can modify is the boot order. The boot order determines the sequence in which the system checks for available bootable devices (such as HDD, USB, and optical drives).
To stop your PC from booting from a USB device, navigate to the boot order settings and move the USB device to a lower priority in the list.
UEFI Firmware Basics
Unified Extensible Firmware Interface (UEFI) is a more modern and feature-rich alternative to BIOS. It was designed to overcome the limitations of BIOS and provide improved hardware and software compatibility. UEFI also supports graphic interfaces, faster boot times, and better security features.
Accessing UEFI firmware settings is typically achieved in a similar manner as accessing BIOS settings. Press a designated key (as directed by your system documentation) during startup to enter the UEFI settings.
Once inside, you can navigate using the graphical interface and access various settings related to your system hardware.
Just like with BIOS, the boot order can be modified in the UEFI settings. To prevent your PC from booting from a USB device, locate the boot order settings in the UEFI interface and adjust the priority of the USB device to a lower position.
This change will ensure that your computer boots from the preferred device before checking the USB drive.
In summary, both BIOS and UEFI firmware play crucial roles in managing the boot process of your PC. To stop your computer from booting from a USB device, it’s essential to modify the boot order settings in either the BIOS or UEFI, depending on your system’s configuration.
By understanding these firmware systems, you can have better control over your PC’s boot process and optimize it according to your needs.
Adjusting Boot Priority
Changing Boot Sequence
There might be situations when you need to prevent your PC from booting from a USB drive. One way to resolve this issue is by adjusting the boot priority in your computer’s BIOS (Basic Input/Output System) or UEFI (Unified Extensible Firmware Interface) settings. To change the boot sequence, follow these steps:
- Turn on or restart your computer.
- Press the appropriate key to enter the BIOS/UEFI setup utility (usually Del, F2, or F10) during the initial boot process.
- Once the BIOS/UEFI setup menu appears, navigate to the Boot tab or section.
- Find the list of boot devices in the settings. This list may be called “Boot Order,” “Boot Sequence,” or “Boot Priority.”
- Using the specified keys, rearrange the boot order to prioritize the desired device (usually, the hard drive or SSD) over the USB drive.
- Save your changes and exit the BIOS/UEFI setup utility. Your computer will restart and boot from the selected device instead of the USB drive.
Setting USB Drive as Last Priority
Alternatively, you can set the USB drive as the last boot priority. This will ensure that your computer checks all other boot devices before attempting to boot from the USB drive. To set the USB drive as the last boot priority, follow these steps:
- Enter the BIOS/UEFI setup utility as described above.
- Navigate to the Boot tab or section.
- Locate the list of boot devices.
- Move the USB drive to the bottom of the list, making it the last boot device in the sequence.
- Save your changes and exit the BIOS/UEFI setup utility.
By adjusting the boot priority and setting the USB drive as the last boot device, you can effectively stop your PC from booting from the USB.
This prevents unauthorized access to your computer using a bootable USB drive and ensures that your PC boots from the appropriate device, such as the hard drive or SSD with your operating system installed.
Disabling USB Boot Options

Disabling USB Legacy Support
To stop your PC from booting from USB devices, you can disable the USB legacy support in the BIOS settings. By disabling USB legacy support, you can prevent the system from recognizing USB devices during the boot process.
To do this, restart your computer and press the key to enter the BIOS setup menu, which is usually F2, F12, or Delete (depending on the make and model of your PC).
Once in the BIOS settings, locate the USB Legacy Support or USB Boot option and set it to Disabled. Save your changes and exit the BIOS to apply the new settings.
Note that disabling USB legacy support might affect the functionality of USB devices (such as keyboards or mice) during the boot process. Ensure you have a PS/2 keyboard or other input method available in case you need to access the BIOS again.
Configuring Secure Boot Settings
Another approach to prevent your PC from booting from USB devices is by configuring the Secure Boot settings. Secure Boot is a security feature that ensures your computer only boots from trusted sources, such as the internal hard drive. To enable Secure Boot, follow these steps:
- Restart your computer and enter the BIOS setup menu by pressing the appropriate key (F2, F12, or Delete).
- Navigate to the Boot or Security settings, depending on your BIOS.
- Look for the Secure Boot option and set it to Enabled. This might require disabling other options like the Compatibility Support Module (CSM) or Legacy Boot Mode.
- Save your changes and exit the BIOS settings.
With Secure Boot enabled, your PC should no longer boot from unauthorized USB devices. However, enabling Secure Boot might also prevent booting from certain devices or operating systems that do not have proper security certificates.
For an added layer of security, consider setting a BIOS password to prevent unauthorized changes to your system’s boot settings.
This way, even if a USB device is connected to your PC, it won’t be able to boot without the correct password.
Modifying OS Boot Configuration

The process of stopping your PC from booting from a USB drive involves altering the boot configuration settings. This section will cover changes needed for both Windows and Linux systems.
Windows Boot Manager Settings
For Windows 10 and other Windows operating systems, you can modify the boot order settings through the BIOS or UEFI (Unified Extensible Firmware Interface) menu. To access this menu, follow the steps below:
- Restart your computer.
- During the startup process, press the designated key (usually F2, F10, or DEL) to enter the BIOS/UEFI menu.
- Navigate to the “Boot” tab or section.
- Locate the boot order settings and rearrange them, ensuring that your primary storage drive (usually containing your Windows OS) is set as the first boot option.
- Save changes and exit the BIOS/UEFI menu.
After implementing these changes, your PC will no longer prioritize booting from USB drives. For further information on managing Windows Boot Manager settings, refer to this guide on Windows boot configuration.
Linux Boot Loaders
For Linux operating systems, such as Ubuntu, Fedora, or Debian, the process also involves modifying the boot loader settings. Most Linux distributions use the GRUB (Grand Unified Bootloader) as their default bootloader. Follow these steps to change the boot order on a Linux system:
- Open a terminal window.
- Enter the following command to edit the GRUB configuration file:
sudo nano /etc/default/grub - Locate the
GRUB_DEFAULTline and modify it to match the boot option you prefer (usually set to “0” for the first boot option, which is commonly your primary operating system). - Save changes and exit the text editor.
- Update the GRUB settings by entering the following command:
sudo update-grub
For other Linux boot loaders, such as LILO (Linux Loader) and SYSLINUX, refer to their respective documentation for modifying boot options. By altering these settings, you can prevent your PC from automatically booting from USB drives and prioritize your primary operating system.
Remember, modifying OS boot configurations is an important step in ensuring that your computer runs smoothly and boots from the correct storage devices. Take the time to understand your specific operating system and its boot settings to maintain optimal performance.
Troubleshooting Common Boot Issues

Handling Boot from External Devices
Sometimes, a PC may boot from an external device, such as a USB flash drive or external hard drive. This can happen when the boot order in the system BIOS is configured to prioritize external devices over the internal HDD. To resolve this issue, it’s essential to change the boot order in the BIOS settings.
- Restart your computer and enter the BIOS setup menu by pressing the appropriate key (usually F2, F10, or Del).
- Navigate to the Boot menu, and find the Boot Order or Boot Priority option.
- Ensure the internal HDD is listed first to prioritize booting from it instead of external devices.
- Save the changes and exit the BIOS.
It’s also essential to safely remove USB flash drives or external hard drives before rebooting to avoid accidentally booting from them.
Resolving Boot Order Problems
Another common issue is when the system boots from the wrong internal hard drive or partition, which can be resolved by adjusting the boot order.
- Access the BIOS settings as mentioned in the previous section.
- Locate the Boot menu and find the Hard Disk Drives or HDD Priority option.
- Verify the correct hard drive or partition is listed first in the boot order.
- Save the changes and exit the BIOS.
One preventive measure to avoid boot issues is to check USB ports and disconnect any bootable USB flash drives or external hard drives before rebooting.
If your PC still boots from the USB even after following these steps, consider verifying the USB device for any damages or issues. For details on troubleshooting boot issues, refer to Troubleshooting Your PC for Dummies.
Remember, it’s crucial to maintain a confident and knowledgeable approach while troubleshooting, ensuring a neutral and clear understanding of the process to effectively resolve PC boot issues.
2 thoughts on “How do I Stop My PC Booting from the USB? Efficient Methods Explained”
Comments are closed.