Retrieving files from a computer that lacks a monitor may initially seem challenging, but there are several methods one can employ to accomplish this task. Whether the monitor is broken or simply unavailable, users still have options to access and transfer their important data.
Understanding these techniques is crucial for those who need to recover files from an old desktop, a server without a display, or when faced with unexpected hardware failures.

One approach is to connect the computer to another monitor or a laptop. This is often the simplest solution if the computer’s hardware, aside from the monitor, is functioning normally.
Another method involves utilizing network file sharing, provided the computer without a monitor is connected to a network and has previously been set up for this sort of access.
For computers that are no longer able to connect to a display, other strategies involve removing the hard drive and connecting it to another computer either directly or with the help of a USB dock or enclosure.
This allows for direct access to the files, bypassing the need for a functional monitor on the original machine. It is important to handle the hard drive with care to avoid data loss.
Understanding the Basics of Computer Data Transfer
When aiming to transfer data from a computer without a monitor, one must understand how to navigate the process and what tools are required.
Identifying the necessary hardware components and selecting an appropriate data transfer method are critical steps to ensure that data is moved efficiently and securely.
Identifying the Necessary Hardware Components
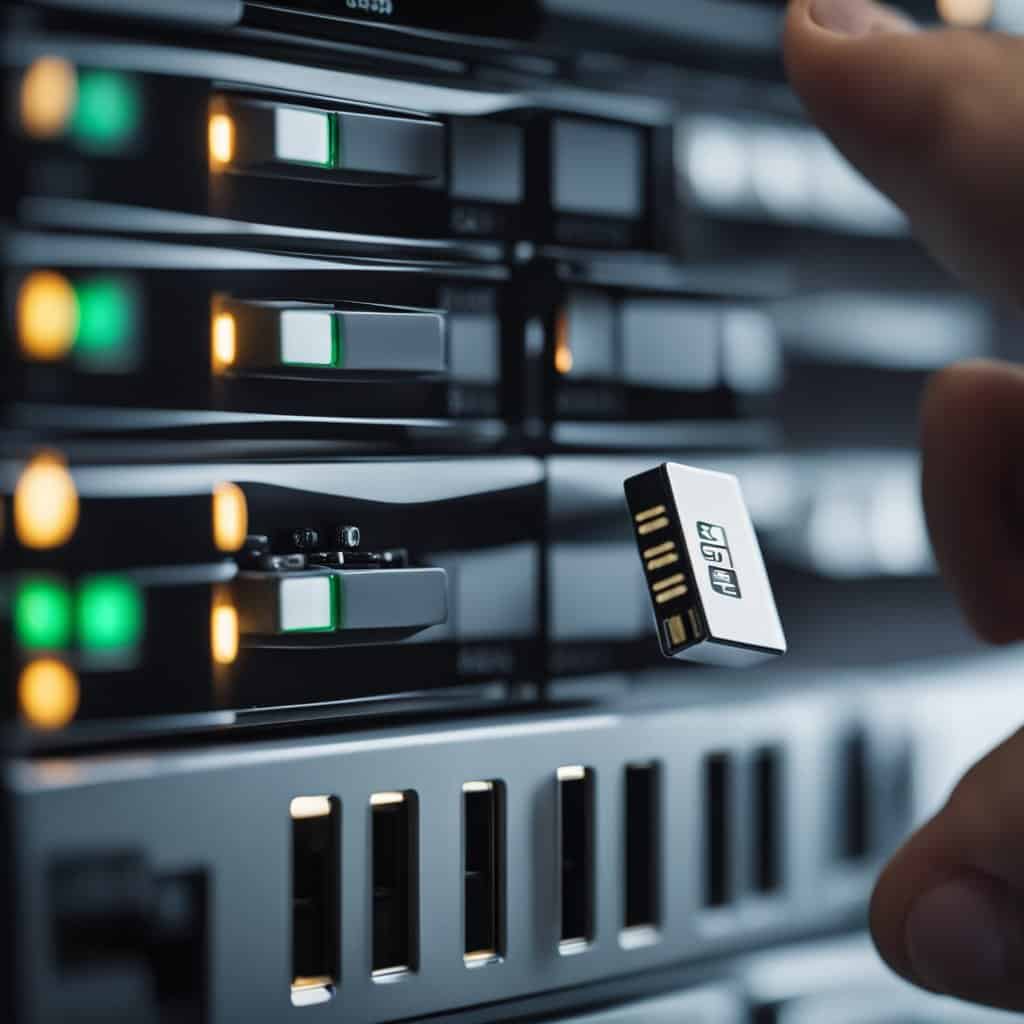
Essential Hardware: The basic hardware required for data transfer includes a USB drive, an external hard drive, or a network drive. For desktops with available drive bays, a SATA cable may be used to connect a secondary hard drive (HDD) or solid-state drive (SSD) directly to the motherboard.
Interface Hardware: If the computer’s motherboard supports it, the user may also utilize a SATA to USB adapter to bridge the connection between a hard drive and another computer.
Connection Devices: Computers with a Network Interface Card (NIC) can facilitate data transfers across a network, which can be beneficial if a direct hardware connection is not viable.
In the case of a laptop, options may be limited to USB or external hard drives due to space constraints, unless one disassembles the laptop to access the internal HDD or SSD.
Selecting the Right Data Transfer Method
Direct Transfer via USB/External Drive:
- Most Common: The most straightforward method involves connecting a USB drive or an external hard drive to the computer and copying the needed files.
- Speed and Simplicity: This approach tends to be faster and more user-friendly, as it is often a simple drag-and-drop process.
Network Transfer:
- Involves setting up a network share or using file transfer software to move data from the target computer to another computer on the same network.
- Requires both computers to be connected to the same network with appropriate sharing permissions set up on each.
Software Tools:
- Data can be transferred using specialized software. These tools can automate the transfer, making the process more streamlined, especially when dealing with multiple files or settings.
Each of these methods will require the computer’s CPU and hardware components to be functional, even without a monitor, as the processor must execute the operations involved in accessing and transferring data.
Step-by-Step Guide for Transferring Data
Transferring data from a computer without a monitor requires specific tools and steps to ensure the information is recovered safely and efficiently. Below are methods one can employ to achieve this.
Removing the Hard Drive from the Original Computer
Tools required:
- Screwdriver
- ESD wrist strap
- Power down the desktop or laptop and disconnect all cables.
- Open the case (for desktops) or access panel (for laptops) using the screwdriver.
- Locate the hard drive. Desktop hard drives typically use a 3.5-inch SATA interface, whereas laptops commonly use a 2.5-inch SATA or IDE interface.
- Disconnect the SATA or IDE cable and power cable from the hard drive.
- Remove the hard drive by unscrewing it from the chassis or unclipping it from the drive bay.
Using External Enclosures and Docking Stations
Connecting via External Enclosure:
- Insert the removed hard drive into a compatible SATA or IDE USB external enclosure.
- Secure the drive and connect the enclosure using a USB cable to another computer.
- Note: Make sure the enclosure matches the hard drive type (2.5-inch for laptops, 3.5-inch for desktops).
Using a Docking Station:
- Place the hard drive into a USB docking station. These stations often support both 2.5-inch and 3.5-inch drives and have a straightforward, plug-and-play interface.
- Connect the docking station to a second computer with a USB cable for data transfer.
Data Transfer Without Removing the Hard Drive
- Boot the computer using a live Linux USB stick or similar bootable tool to access the hard drive if the computer is operable.
- Share the hard drive over a network by setting it up as a network drive from the BIOS settings, if supported.
- Employ software tools designed for data recovery that can run without an operating system or even create an image of the disk for restoration on another machine.
Data Recovery and Protection

When a computer loses its display capabilities, accessing crucial files can seem daunting. However, various reliable methods ensure data recovery is possible, and taking proactive steps can protect the data for the future.
Data Recovery Solutions
Recovering data from a computer without a monitor can be accomplished by different methods, each suited to varying levels of technical expertise and types of storage media.
- Using a Windows Installation Disc: If the computer is still functional, booting from a Windows installation disc may allow access to repair options and the command prompt, from where files can be transferred to an external hard drive.
- External Hard Drive Enclosure: For a non-booting HDD, placing the hard drive into an external enclosure and connecting it to another computer can make it accessible, allowing for file recovery.
- Data Recovery Software: Free and paid data recovery software solutions can scan and recover files from various storage mediums such as HDDs, CDs, USB sticks, and external hard drives.
It’s essential to consider the cost of these methods and the warranty implications, as some actions might void a warranty. Always choose a solution that aligns with technical comfort and ensures data security.
Safeguarding Your Data for the Future
To protect data against future incidents, certain strategies can be employed:
- Regular Backups: Implementing routine backups to various media types, including cloud storage, external hard drives, and USB flash drives, can prevent data loss.
- RAID Configuration: Consider setting up a Redundant Array of Independent Disks (RAID) for data mirroring and redundancy.
- Updates and Maintenance: Keep systems up to date and perform regular maintenance checks to minimize the chances of hardware failure leading to data loss.
Balancing the cost of protective measures with the value of the data can guide decisions on how to best safeguard against future data accessibility issues.
Troubleshooting and FAQs

This section aims to clarify the process of retrieving files from a computer with a display issue. It addresses technical queries and guides maintaining compatibility and preventing hardware damage during the recovery operation.
Addressing Common Technical Questions
Q: Can files be transferred from a laptop with a broken screen?
A: Yes, files can be transferred from a laptop with a broken screen using a USB or external hard drive. If the laptop is operational, one can also connect it to an external display using HDMI, VGA, or DisplayPort to access the files directly.
Q: How do I connect my laptop to an external display if the screen is dead?
A: One can connect their laptop to an external display by identifying the appropriate port on the laptop (usually HDMI or VGA) and using the corresponding cable to connect it to a monitor or TV. It may be necessary to use a function key on the laptop to toggle the display output.
Ensuring Compatibility and Avoiding Damage
Q: What should be checked to ensure compatibility when connecting to an external display?
A: Verify the laptop’s port (e.g., HDMI, DisplayPort, VGA input) matches the monitor’s available inputs. Additionally, ensure that the laptop’s CPU and memory can support an external display, which is typically the case.
Q: How can I avoid damaging my Laptop while trying to retrieve files?
A: To prevent damage, safely power down the laptop before attempting any physical connections, avoid forcing cables into ports, and consult the laptop’s warranty or user manual for any specific instructions related to the motherboard or ports. Use proper electrostatic discharge (ESD) precautions to avoid damaging internal components.


6 thoughts on “How to Get Files Off a Computer Without a Monitor: A Step-by-Step Guide”
Comments are closed.