Are you experiencing the frustration of a computer that won’t start, despite the motherboard LED being lit? You’re not alone.
In this article, we’ll explore the possible causes of a computer not starting, what the lit motherboard LED could indicate, and how to troubleshoot the issue. Whether you’re a tech-savvy individual or a computer novice, we’ll guide you through the steps to take and help you determine when it’s time to seek professional help.
Stay tuned for practical tips and insights.
Key Takeaways:
A motherboard is the central component of a computer that connects all other parts. If your computer is not starting, it could be due to a variety of reasons such as a faulty power supply, loose connections, or damaged components. A lit motherboard LED does not necessarily mean the computer is functioning properly, and it may still require troubleshooting to identify and fix the issue.
What Is a Motherboard?
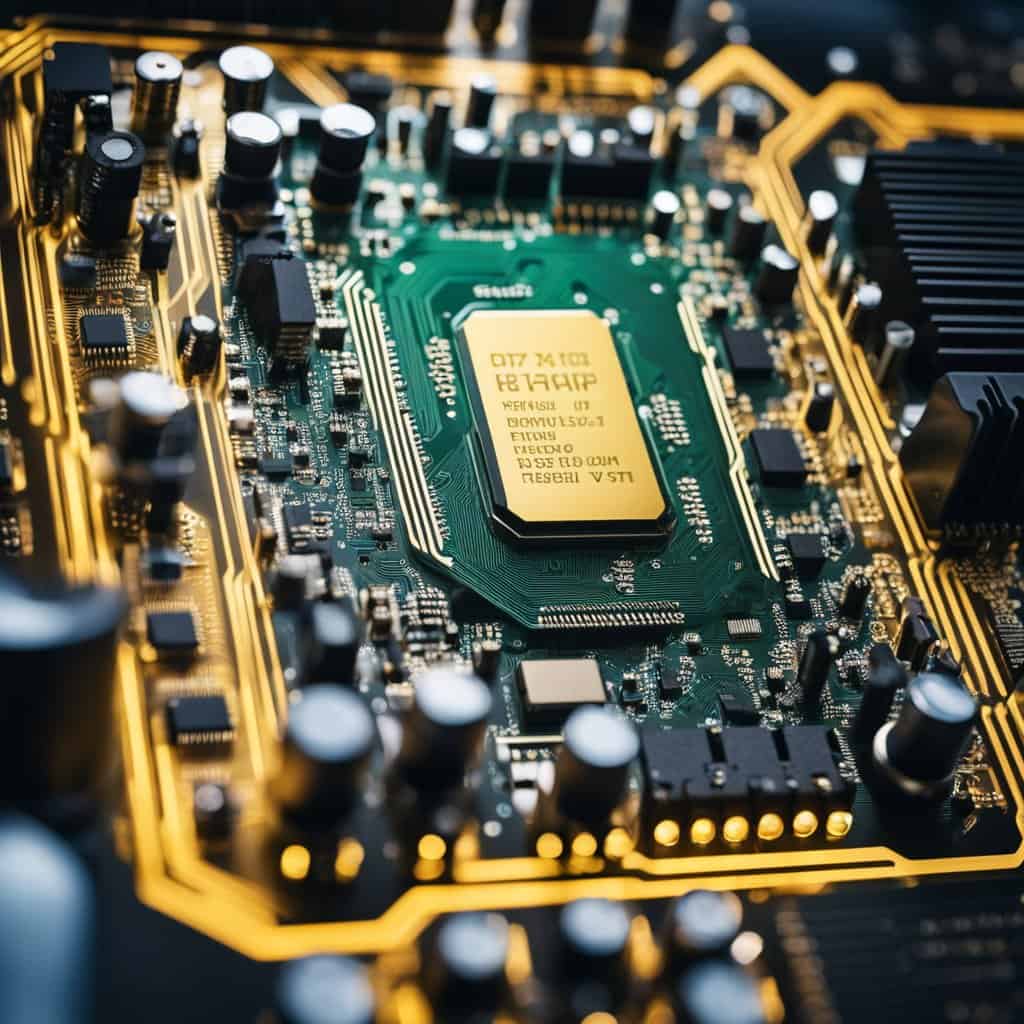
A motherboard, also known as a mainboard, system board, or logic board, is the primary circuit board in a PC that connects all the components and allows them to communicate with one another, providing the necessary power and connections for the system to function effectively.
Essentially, the motherboard acts as the central nervous system of a computer, orchestrating the flow of data and power between the CPU, memory, storage, and other hardware components. It also integrates interfaces for peripherals such as USB, audio, and networking.
Without the motherboard, a computer cannot function properly. It is essential to regularly check the functioning of the motherboard through diagnostic methods to ensure that the power distribution and communication pathways are intact. Any fix or maintenance required for the motherboard must be promptly addressed to prevent disruptions in the system’s operation.
What Are the Symptoms of a Computer Not Starting?
When a PC fails to start, it exhibits various symptoms, including the absence of power light, continuous beeping, and a lack of response when the power button is pressed, indicating potential issues with the power supply, motherboard, or other vital components.
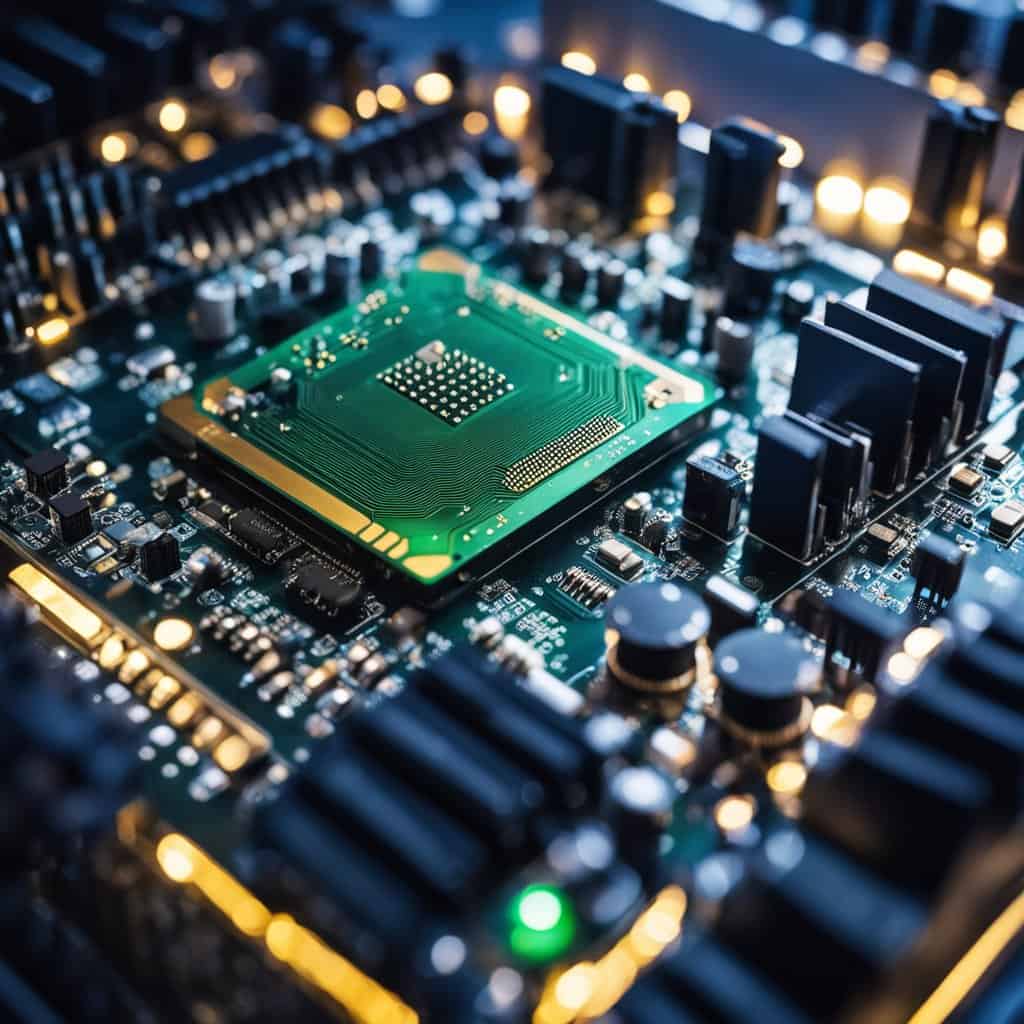
These symptoms can cause frustration and concern for users who rely on their PCs for work or personal use. The absence of the power light can signal a lack of power reaching the system, which may stem from a faulty power supply unit.
Continuous beeping often indicates hardware errors, such as malfunctioning RAM or CPU. In such situations, it’s crucial to check the connections, power cables, and the condition of the power supply to identify and rectify the problem. It’s advisable to seek professional assistance for troubleshooting and potential hardware replacement if necessary.
What Are the Possible Causes of a Computer Not Starting?
The failure of a PC to start can be attributed to various causes, such as a malfunctioning power supply, faulty motherboard light, issues with the power source, or underlying problems that require immediate attention to fix the PC and resolve the issue.
One common issue that can prevent a computer from starting is a malfunctioning power supply. If the power supply is not functioning properly, it may not be providing enough power to the other components, hindering the startup process.
A faulty motherboard light can indicate a problem with the motherboard or the power supply. It’s crucial to check for any loose connections or damaged components that could be affecting the flow of power. Issues with the power source, such as a tripped circuit breaker or a faulty outlet, can also lead to startup failures. It’s essential to assess these potential causes before diving into more complex troubleshooting.
It’s important to check the monitor for any display issues and listen for any diagnostic beeps that could provide valuable insights into the underlying problem. A thorough examination of the power supply, ensuring it is functional and receiving sufficient power, is crucial. By addressing these potential causes systematically, one can increase the chances of identifying the root issue and taking appropriate remedial actions.
What Does It Mean When the Motherboard LED Is Lit?
When the motherboard LED is lit, it serves as an indicator that the motherboard is receiving power and is operational, providing a reliable visual cue for users to assess the functioning of the motherboard and identify potential issues that need to be addressed to fix the PC.
A lit motherboard LED has crucial significance as it not only confirms the presence of power but also serves as a quick diagnostic tool.
Its reliability lies in the fact that it is directly linked to the power supply, offering a clear indication of whether the essential power is reaching the motherboard.
By understanding its relevance in diagnosing power-related issues, users can efficiently troubleshoot any failures by checking the stability of the power supply, ensuring all connections are secure, and promptly replacing any malfunctioning components.
Is the Motherboard LED a Reliable Indicator?
The motherboard LED serves as a reliable indicator of the power supply to the motherboard, offering valuable insights into the operational status of the system and serving as a critical diagnostic tool to fix the PC in case of power-related issues.
When the LED is solid green, it indicates a normal power supply, reassuring users of uninterrupted power flow. Conversely, a blinking or red LED serves as a warning sign, suggesting potential power supply issues that need immediate attention.
These color-coded signals provide a quick assessment of the power status, aiding in troubleshooting without the need for complex diagnostic tools. To ensure the accuracy of the LED’s indications, it’s essential to periodically check for any fluctuations or irregularities in its behavior. This involves observing the LED during system startup and monitoring its continuous status during operation to detect any unexpected changes.
If inconsistencies are observed, it’s crucial to address them promptly to prevent potential power-related malfunctions and safeguard the motherboard and attached components.
How to Troubleshoot a Computer That Is Not Starting?
Troubleshooting a computer that is not starting requires a systematic approach, involving meticulous checks of the power supply, motherboard connections, RAM, CPU, graphics card, hard drive, and BIOS, while also assessing additional factors such as monitor display, error beeps, CMOS settings, hardware screws, memory modules, and integrated circuits, with a bonus tip for comprehensive problem resolution.
First and foremost, check the power supply to ensure it is receiving power and functioning correctly. Examine the power cables and ensure they are securely connected.
Next, inspect the motherboard connections and verify that all components are appropriately plugged in. A loose connection can prevent the system from starting.
Then, focus on the RAM. Remove and reseat the RAM modules to ensure they are properly seated in their slots. Try using one RAM stick at a time to identify potential faulty modules.
Similarly, check the CPU. Ensure that the CPU is properly seated in its socket, and the thermal compound and heatsink are correctly installed to prevent overheating.
Inspect the graphics card and make sure it is securely inserted into its slot. If applicable, verify that the necessary power connectors are attached.
Move on to the hard drive. Check the SATA and power cables, and listen for any unusual clicking or grinding noises when the system is powered on.
Proceed to check the BIOS settings. Reset the BIOS to default values and ensure that the boot order is correctly configured.
When evaluating the monitor display, check if the monitor is receiving power, and if applicable, try a different monitor or cable to rule out any display-related issues.
Listen for error beeps during startup. Different beep patterns can indicate specific hardware issues, and consulting the motherboard manual can help interpret these codes.
Verify the CMOS settings and ensure that the date, time, and other settings are accurate. A failing CMOS battery can cause startup problems.
Don’t overlook the importance of hardware screws. Loose screws inside the case can cause short circuits and lead to startup failures.
Assess the memory modules for any signs of physical damage or corrosion on the contacts. Cleaning the contacts with alcohol and reseating the modules may help resolve certain issues.
Inspect the integrated circuits on the motherboard for any signs of damage, such as bulging or leaking capacitors. These components can affect the overall functionality of the system.
As a bonus tip, if the computer still refuses to start after thorough troubleshooting, consider seeking professional assistance. A trained technician can perform advanced diagnostic tests to identify and resolve the underlying problem.
Step 1: Check the Power Supply
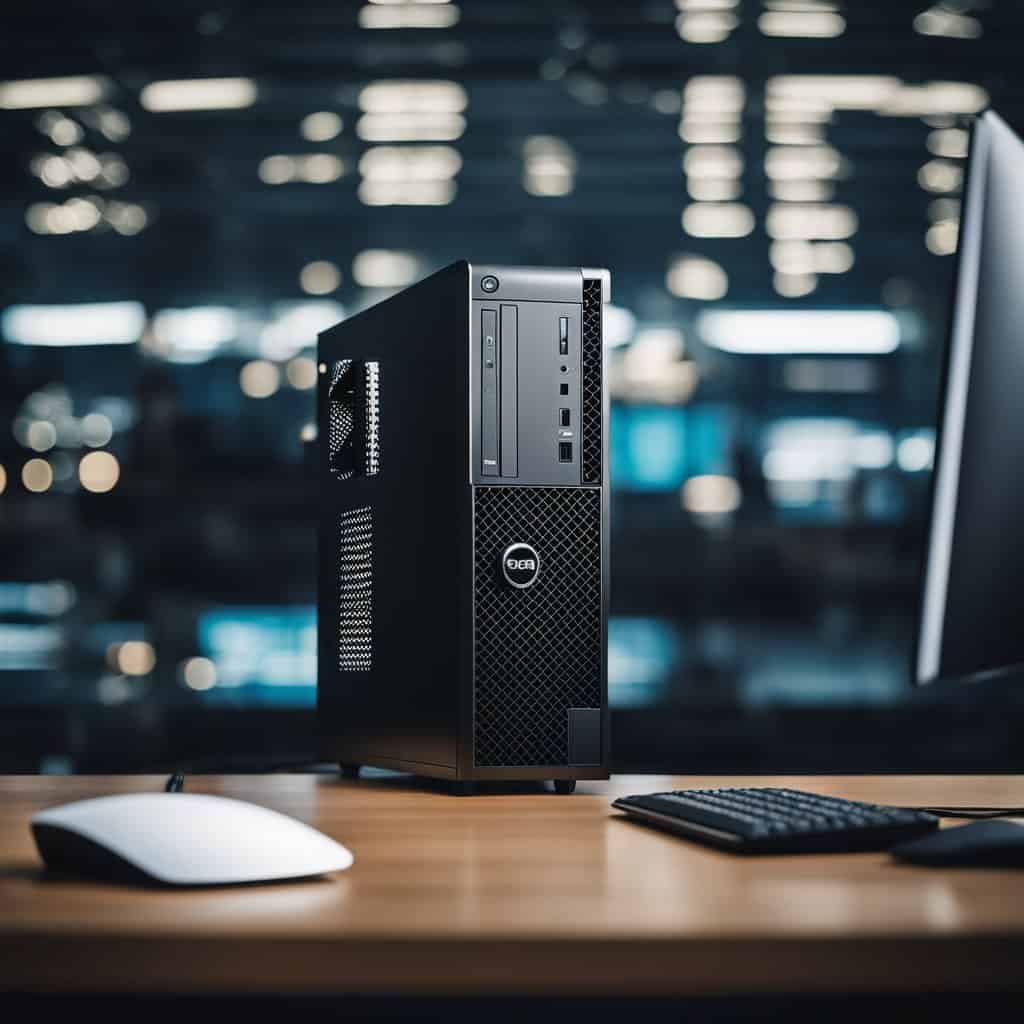
The first step in troubleshooting a non-starting PC is to check the power supply, ensuring that it is functioning correctly and providing the necessary power to the motherboard and other components, while also verifying the status of the motherboard light and turning the power light for diagnostic purposes.
When troubleshooting PC issues, it’s important to start by checking the power supply unit. Make sure all connections are secure and use a multimeter to measure the voltage output. This will ensure it aligns with the recommended values for your specific components.
If you notice that the motherboard light is off, it could indicate a power supply failure or a problem with the motherboard itself. Additionally, if the power button or power supply circuitry is not functioning properly, the power light may not illuminate.
Step 2: Check the Motherboard Connections
After ensuring the power supply, the next step is to check the motherboard connections, including all cables and components that connect to the motherboard, addressing potential issues and ensuring that the PC’s connections are secure and functional to resolve to turn PC and fix PC issues.
When assembling a PC, it’s crucial to properly align and connect the power switch, reset switch, and LED indicators to the motherboard. Additionally, inspecting the SATA and power connections to storage drives, RAM modules, and CPU power connectors is essential to avoid potential malfunctions.
To prevent overheating and hardware damage, it’s important to securely install the GPU, CPU, and other expansion cards in their respective slots. Also, make sure to connect the cooling fans and CPU cooler to the correct headers. Paying attention to these details greatly contributes to resolving PC start-up and performance issues.
Step 3: Check the RAM
Inspecting the RAM is crucial in the troubleshooting process, as it can often be a source of turning PC and fix PC issues, requiring thorough checks to identify potential problems and address the underlying causes of the PC not turning on.
When the RAM is not functioning correctly, it leads to a variety of PC problems such as slow performance, system crashes, and the PC not turning on at all. Common potential issues with the RAM include physical damage, improper installation, or simply reaching its maximum capacity.
To address these problems, it is essential to start by checking the physical connections and ensuring that the RAM is properly seated in its slots. Running diagnostic tools can help identify any faulty modules or compatibility issues.
Upgrading or replacing the RAM module might be necessary to resolve persistent problems. It’s important to select RAM that is compatible with the motherboard and fulfills the system requirements to ensure optimal performance.
Step 4: Check the CPU
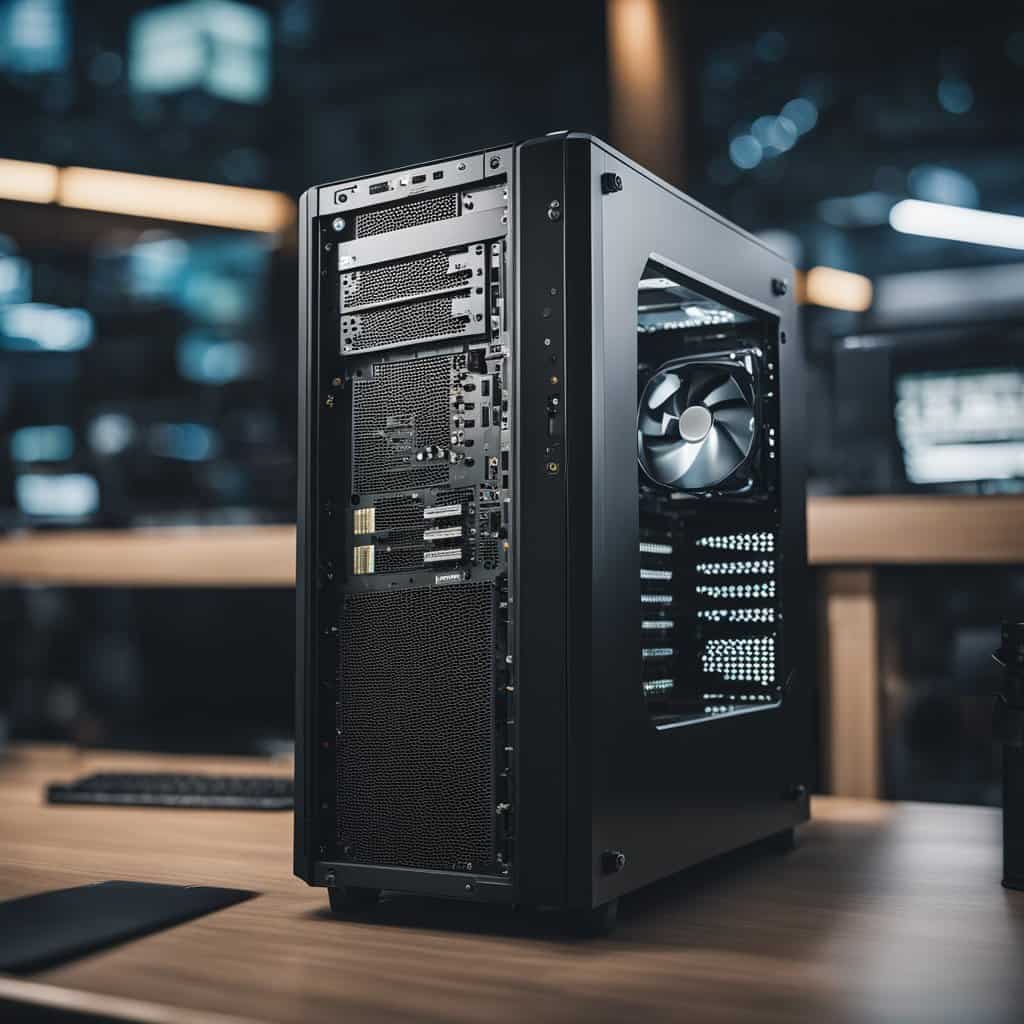
Verifying the functionality of the CPU is essential when troubleshooting a PC that won’t turn on, requiring specific methods to identify potential issues, address any malfunctions, and facilitate the successful booting of the system.
One of the primary steps is to check the power supply connections to the CPU. Ensure that the power cable is securely plugged in and the power switch is turned on.
Next, examine the CPU for any visible signs of damage or overheating. Dust and debris can hinder airflow and cause overheating, so it’s crucial to clean the CPU and its components regularly. Inspect the motherboard for any loose connections or damaged components. Identifying and resolving these issues can often resolve PC startup problems.
Step 5: Check the Graphics Card
The graphics card should be thoroughly checked to ensure proper functionality and address potential issues preventing the PC from turning on, requiring specific methods to diagnose, fix, and facilitate the successful booting of the system.
Before diving into troubleshooting, it’s important to visually inspect the graphics card for any physical damage. This can include burnt-out components or loose connections. Another helpful step is testing the graphics card in a different system to determine if the issue is with the card itself or other components in the computer. Make sure to also check that the latest drivers are installed and that the card is securely seated in its slot. If the computer is completely unresponsive, it’s necessary to investigate potential power supply problems or conflicts with other hardware.
Step 6: Check the Hard Drive
Evaluating the hard drive is essential in the troubleshooting process, involving specific methods to diagnose potential issues, address malfunctions, and facilitate the successful booting of the system when the PC won’t turn on.
One of the initial steps is to run a diagnostic scan to identify any potential errors or failures in the hard drive. This can be done using dedicated software designed for detecting and repairing hard drive issues.
Physically inspecting the connections and cables associated with the hard drive is crucial to ensure proper power supply and data transfer. Ensuring that the hard drive is properly connected and operational is vital for resolving issues related to booting up the PC.
In cases of persistent problems, seeking professional assistance may be necessary to effectively troubleshoot and rectify hard drive-related issues.
Step 7: Check the BIOS
Verification of the BIOS settings and functionality is critical in the troubleshooting process, requiring specific checks, adjustments, and fixes to address issues preventing the PC from turning on and facilitating successful system booting.
One of the primary steps in checking the BIOS involves accessing the setup utility during the computer’s boot process by pressing a specific key, often noted on the startup screen.
Once there, users can review and modify crucial settings related to hardware configuration, power management, and boot order.
It’s essential to ensure that the date, time, and system information are accurate, as discrepancies can cause boot failures or errors.
Additionally, verifying the integrity of the firmware and possibly updating it to the latest version can rectify compatibility issues, enhance system stability, and provide support for new hardware features.
When Should You Seek Professional Help?
Seeking professional help for PC problems is advisable when issues related to the motherboard, power supply, or persistent turn PC and PC problems cannot be resolved through standard troubleshooting methods, ensuring comprehensive diagnosis and effective resolution of the underlying issues.
These components play crucial roles in the functionality of the PC, and problems related to them can be complex and technical.
Expert technicians possess the necessary knowledge and tools to conduct in-depth diagnostics and repair procedures, ensuring that any underlying issues are identified and addressed appropriately.
Attempting to address motherboard or power supply issues without the right expertise can potentially worsen the situation and lead to irreparable damage.
Similarly, persistent PC turning off or frequent software crashes may indicate deeper hardware or software malfunctions that require professional attention. https://www.youtube.com/embed/wCwshTbSo9U
Frequently Asked Questions
Why is my motherboard LED lit but my computer won’t start?
There could be several reasons for this issue, such as a faulty power supply, a loose cable connection, or a damaged motherboard. It’s best to troubleshoot to determine the exact cause.
What should I do if my motherboard LED is lit but my computer won’t turn on?
Check to make sure all cables are securely connected to your power supply and motherboard. If everything seems to be connected properly, try testing your power supply with a multimeter to see if it’s functioning correctly.
Can a faulty power supply cause the motherboard LED to light up but the computer not to start?
Yes, a faulty power supply can prevent your computer from starting, even if the motherboard LED is lit. The power supply is responsible for providing power to all components in your computer, so if it’s not functioning correctly, your computer won’t be able to turn on.
What does it mean when the motherboard LED is lit but there is no display on my monitor?
This could indicate a problem with your graphics card or CPU. Make sure that your graphics card is properly connected and functioning, and try reseating your CPU to ensure a good connection.
Is it possible for the motherboard LED to be lit but the computer to start later?
Yes, this could happen if there is a temporary issue with your computer, such as a loose component or a minor power surge. Try restarting your computer and see if it turns on.
What should I do if my motherboard LED is lit but my computer is not starting after adding new hardware?
Make sure that the new hardware is compatible with your motherboard and that it is properly installed. If the issue persists, try removing the new hardware and see if your computer starts up. If it does, the new hardware may be causing a problem.
